How to Cook Brown Rice Without Guesswork
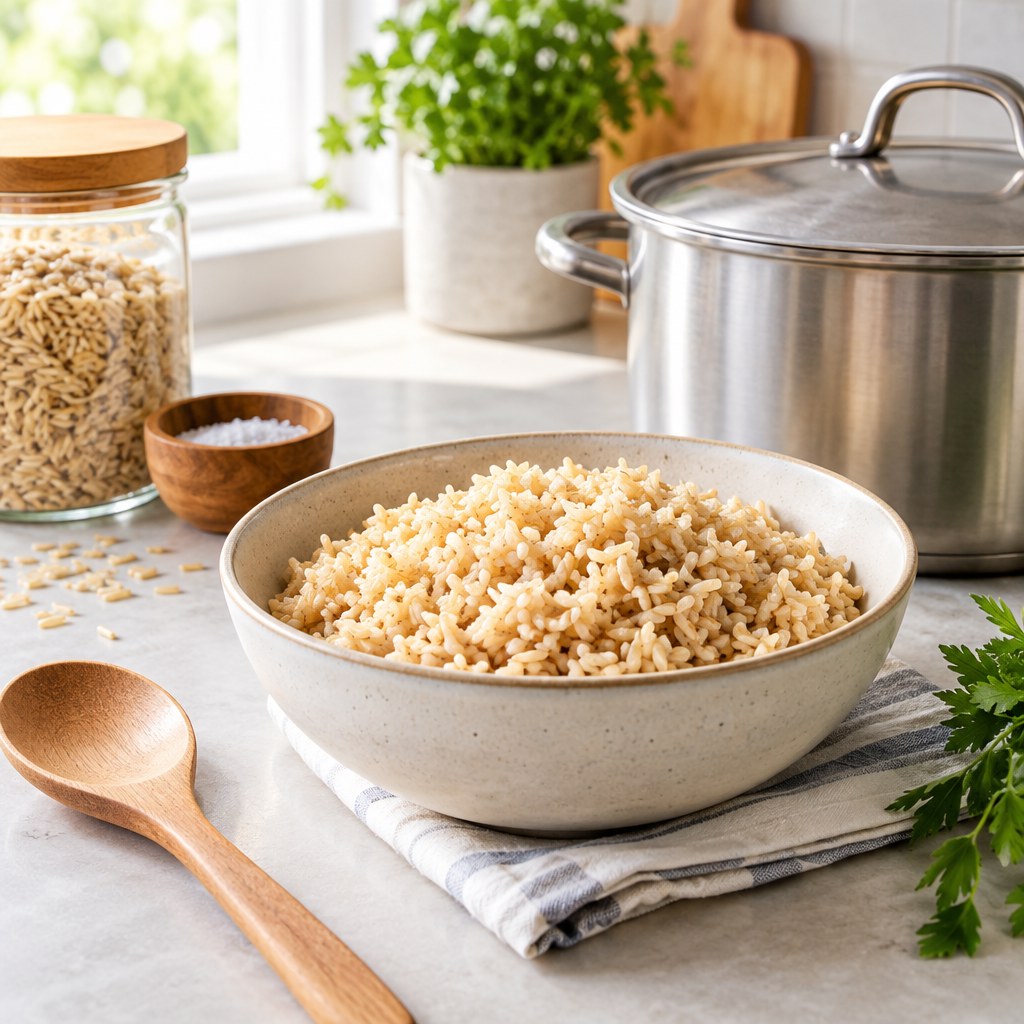
Brown rice becomes reliable when you control 4 variables: the rice type, the water amount, the simmer, and the resting time. Use a measured ratio, keep the lid on while it cooks, and let the rice steam off the heat before fluffing; you will get separate, tender grains instead of hard centers or a wet, gummy pot.
Unlike white rice, brown rice still has its bran layer. That layer adds a nutty flavor and firmer texture, but it also means the grain needs more time and moisture. The goal is not to follow a single universal cooking time. It is to use a repeatable method, then make one small adjustment when your particular bag, pot, or appliance calls for it.
Why brown rice can be unpredictable
“Brown rice” is a broad label, not one standardized grain. Long-grain brown rice usually cooks up relatively dry and separate. Short-grain brown rice is naturally stickier and often needs slightly more water. Brown basmati has a lighter, more fragrant result, while some blends contain grains with different cooking speeds. Start by checking the package: it may specify a water ratio that differs from a general recipe.
Your equipment matters too. A heavy pot with a close-fitting lid loses less steam than a thin pot or a lid with a loose vent. An electric burner may continue delivering heat after you turn it down. A gas burner may need a lower setting to prevent scorching. These are not failures; they are reasons to record the method that works in your kitchen.
Know what “done” looks like
Properly cooked brown rice should be tender all the way through, with a pleasantly chewy bite. It should not have a chalky or hard center. The grains should look swollen and distinct, though short-grain rice will cling together more than long-grain rice. A little moisture at the bottom immediately after cooking is acceptable because the covered resting period redistributes it.
💡 Tip: Treat your first successful batch as your baseline. Write down the rice variety, water amount, cooking time, and pot type. That short note removes most future guesswork.
Choose a cooking method that fits the meal
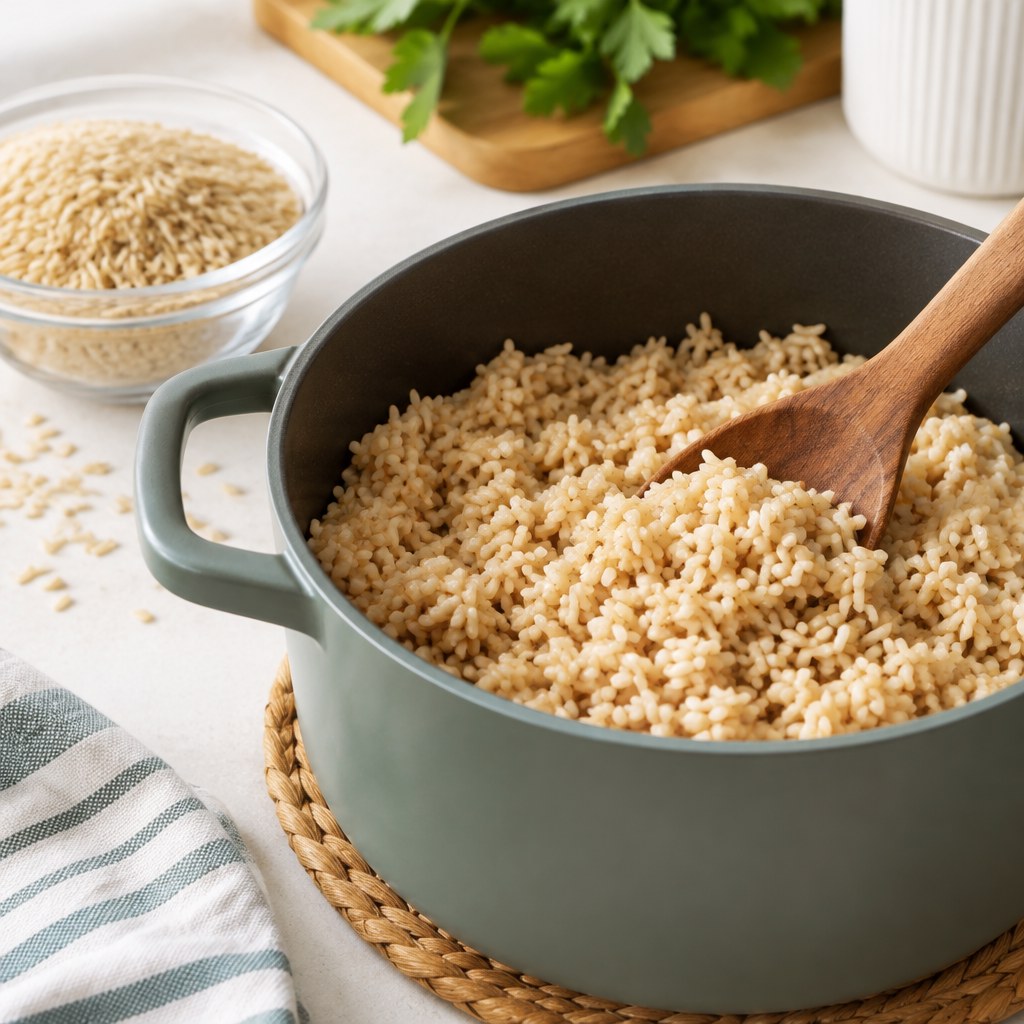
The stovetop absorption method is the best default when you want a small or medium batch and full control over texture. A rice cooker is useful when you want hands-off timing or regularly cook rice alongside other tasks. The pasta-style method, where rice cooks in abundant water and is drained, is a practical fallback if you struggle with a scorched base or your lid does not fit well.
Stovetop absorption: best all-purpose choice
This method uses just enough water for the rice to absorb during a gentle simmer. It produces flavorful rice because very little starch or flavor is poured away. It rewards accurate measuring and a pot lid that holds steam.
Rice cooker: best for consistency and convenience
A cooker removes the need to watch the burner, but it does not remove the need to measure. Use the brown-rice program if your appliance has one. If it does not, follow its manual for brown rice rather than assuming its white-rice markings apply.
Boil and drain: best for a forgiving backup
Cook the rice in plenty of boiling water until tender, then drain it well and return it to the warm pot with the lid on for a short steam. This method can be especially useful for older rice or a large batch when precise absorption is difficult. The trade-off is a little less control over seasoning in the cooking water.
The dependable stovetop method
For standard long-grain brown rice, begin with 1 cup of rice and 2 cups of water or unsalted stock. This is a practical starting point, not a rule for every variety. Use a medium saucepan with a tight lid; choose a pan that gives the rice room to expand without leaving a very wide, shallow layer that evaporates quickly.
- Measure the rice and liquid. Use the same cup for both. Add a pinch of salt if you want seasoned rice, plus 1 teaspoon of oil or butter if you prefer a slightly richer finish.
- Rinse if needed. Rinsing removes surface dust and loose starch. Place the rice in a fine sieve and rinse with cool water until the runoff is less cloudy. Drain well. Do not soak unless your package recommends it or you are deliberately testing a shorter cooking time.
- Bring it to a full boil. Add rice and liquid to the pot. Bring the liquid to a clear boil over medium-high heat, stirring once or twice only before covering.
- Cover and reduce to a low simmer. Once covered, turn the heat down until you can maintain the gentlest simmer. Avoid lifting the lid. Escaping steam changes the water balance and lengthens cooking.
- Cook until the liquid is absorbed. Long-grain brown rice often needs roughly 35 to 45 minutes. Check only near the end of the expected range. If the grains are tender and no free liquid remains, remove the pot from the heat.
- Rest, then fluff. Leave the lid on for 10 minutes. This stage lets steam finish the center of the grains. Fluff gently with a fork, lifting and separating rather than stirring hard.
If you are cooking short-grain brown rice, begin with the package ratio because it commonly differs from long-grain rice. Judge the result by texture rather than the clock. The same is true for brown basmati, which may cook more quickly than a typical long-grain brown rice.
How to use a rice cooker without overthinking it
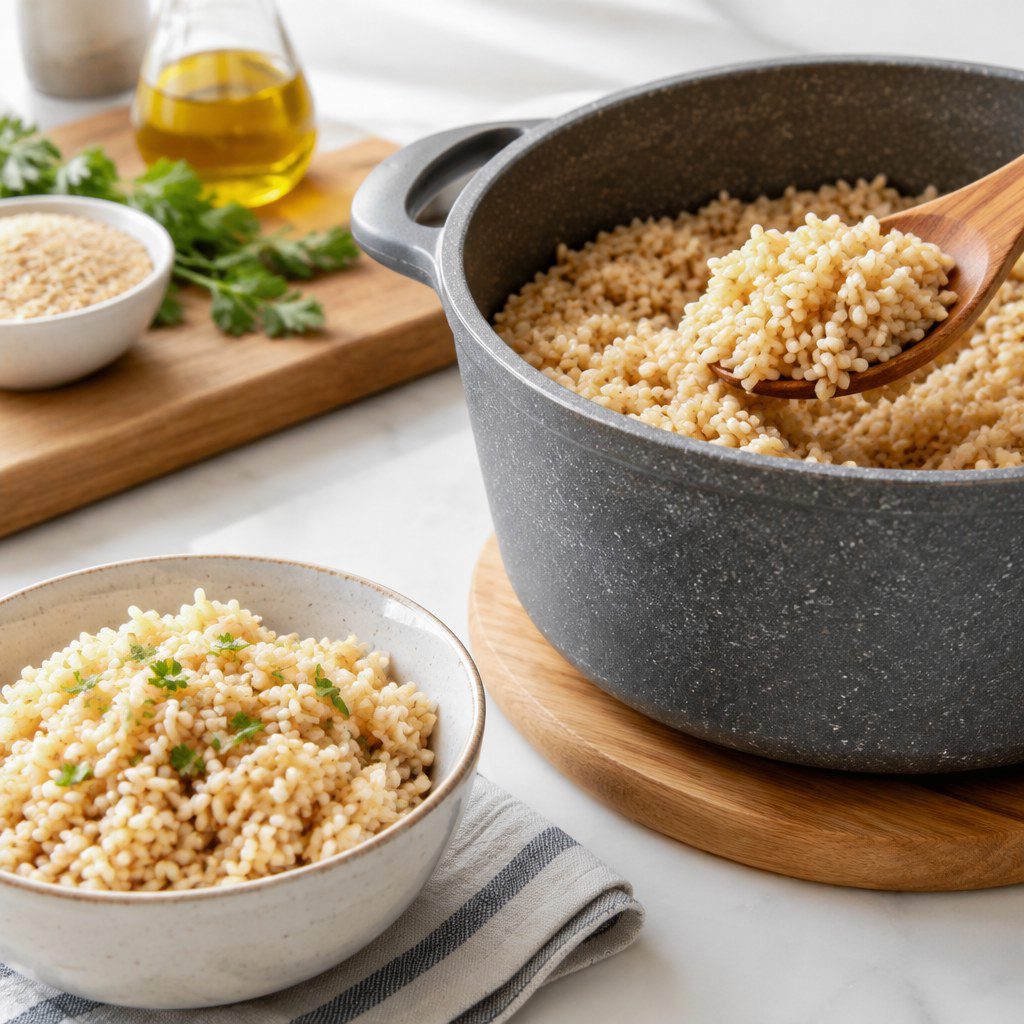
Rinse the rice, add it to the cooker pot, and use the water line or ratio recommended for brown rice by the appliance manufacturer. If your cooker includes a brown-rice setting, select it and let the cycle run uninterrupted. When the cooker switches to warm, keep the lid closed for about 10 minutes before fluffing.
If the finished rice is consistently firm, add a small extra splash of water next time. If it is consistently wet, reduce the water slightly. Make one change at a time. Changing the water, rice brand, rinse routine, and resting time together makes it impossible to tell what improved the result.
Scale batches carefully
Doubling rice does not always mean doubling the cooking time, but it does require a pot or cooker with enough capacity. Do not fill a cooker beyond its marked maximum. For meal preparation, cool cooked rice promptly in shallow containers and refrigerate it rather than leaving a large hot batch at room temperature for an extended period.
Mistakes to avoid and how to recover
The rice is still hard
If the pot is dry but the centers are firm, add a small amount of hot water, cover, and cook on low for a few more minutes. Rest again before testing. Adding cold water can lower the pot temperature abruptly, so hot water is the easier correction. For the next batch, increase liquid slightly or extend the covered simmer.
The rice is wet or mushy
If the rice is tender but there is visible water, keep it uncovered over very low heat briefly to evaporate excess moisture, watching closely. Then cover and rest. If the grains are already very soft, spread them on a tray for a few minutes to release steam and use them in fried rice, grain bowls, or a soup rather than trying to restore a separate texture.
The bottom is scorched
A burnt base usually means the heat was too high, the pot was too thin, or there was not enough liquid. Do not scrape the scorched layer into the rest of the batch. Transfer the unburned rice to another bowl immediately. Next time, use a heavier pot, lower the burner sooner, and confirm that the lid retains steam.
⚠️ Avoid: Repeated stirring after the pot is covered. It releases steam, disrupts the simmer, and can break softened grains. Stir only before covering and fluff only after resting.
A simple decision framework for your next batch
Start with the package instructions when they identify the rice variety. If they do not, use the stovetop baseline of 1 cup long-grain brown rice to 2 cups water, simmer gently, and rest for 10 minutes. Taste a grain near the end of cooking rather than assuming every bag behaves the same way.
- Choose long-grain rice when you want distinct grains for bowls, salads, or side dishes.
- Choose short-grain rice when a softer, clingier texture suits the meal.
- Use a rice cooker when convenience and repeatability matter most.
- Use the boil-and-drain method when your stovetop pot loses steam or absorbs unevenly.
- Adjust only 1 variable in the next batch: water, heat, or time.
The practical standard is simple: tender centers, no standing water, and grains that match the texture you intended. Once you have that result, keep the same rice, pot, ratio, and timing as a repeatable kitchen system.
Make your next pot the reference batch
Measure your rice and water, use low heat after boiling, rest the pot for 10 minutes, and note the result. One brief record is all you need to stop guessing.