A Practical Guide to Removing Clothing Labels Safely
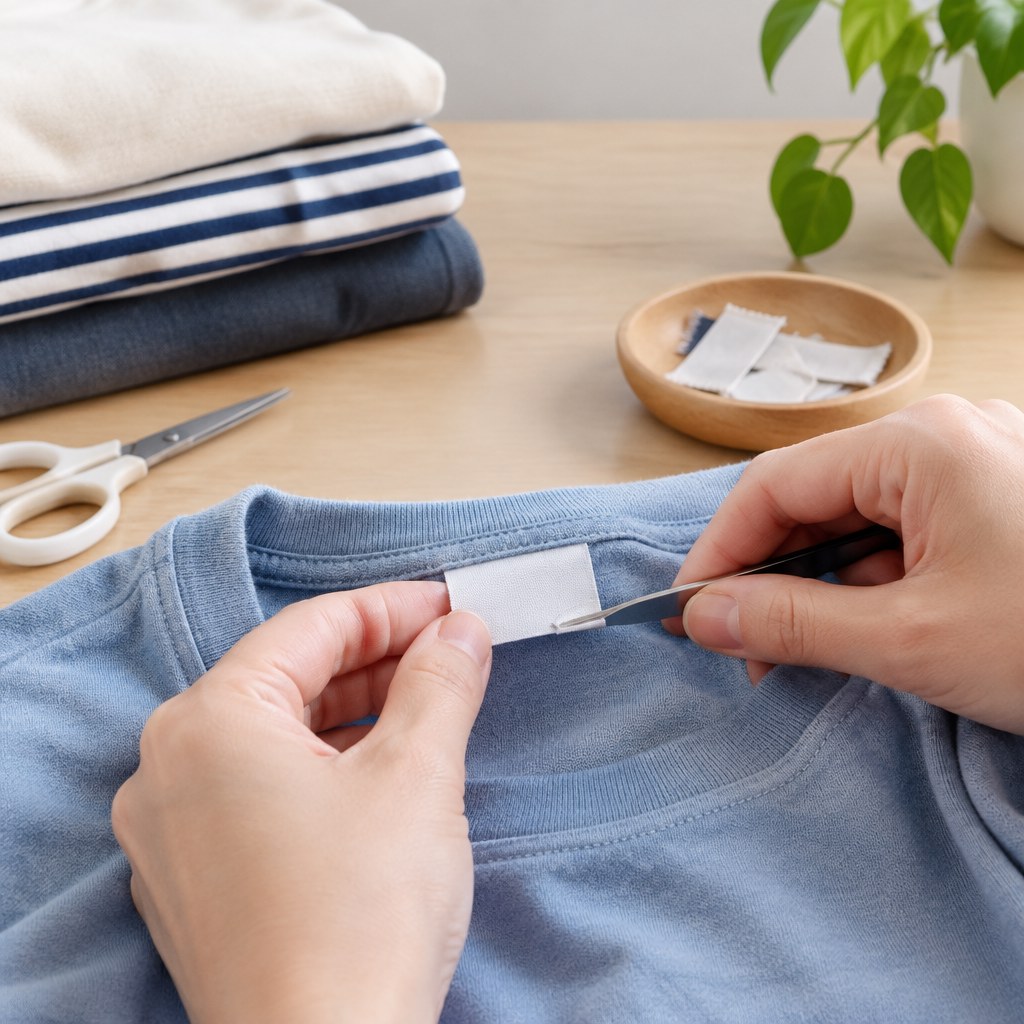
Removing a clothing label safely means taking off the unwanted tag without cutting fabric, opening a seam, or leaving an irritating scratchy edge behind. The safest method depends on how the label is attached: a loose sewn-in tag, a printed care mark, a plastic fastener, or a label caught in a structural seam all need a different approach.
For households, resale teams, alteration services, and small apparel businesses, the goal is simple: make the garment more comfortable or presentation-ready while preserving its condition and required care information. Start by identifying the label type, then use the least aggressive tool that will release it.
Identify the label before cutting
The biggest avoidable mistake is treating every label as though it is a simple tag. A label may be stitched to a seam allowance, woven into the neckline, attached with a plastic pin, heat-transferred onto the fabric, or integrated into a branded patch. Look at both sides of the garment before choosing a tool.
Loose sewn-in labels
These are the easiest labels to remove. They usually sit inside a side seam, collar, waistband, or hem and are held by a separate line of stitches. You can often see a small stitch line crossing the label without crossing the main garment seam.
Labels sewn into a seam
A seam-caught label is stitched into the same construction seam that holds two garment panels together. Cutting the visible stitches can loosen the seam itself. This is common on neck labels, side-seam composition labels, and small brand tabs. Removal is possible, but it requires more care and may be better handled by an alterations professional when the garment is valuable or delicate.
Plastic fasteners and hangtags
Retail hangtags are normally attached with a thin plastic fastener, string, or loop. These should be cut away from the garment, not pulled. Pulling can enlarge knit stitches, snag loose weave fabrics, or leave a visible hole near the attachment point.
Printed or heat-transfer labels
Printed labels are applied directly to the inside surface of a garment. They cannot usually be removed cleanly without affecting the fabric, color, or stretch. If the print feels uncomfortable, a thin, soft layer between the print and skin may be more realistic than trying to strip it away.
Choose the safest removal method
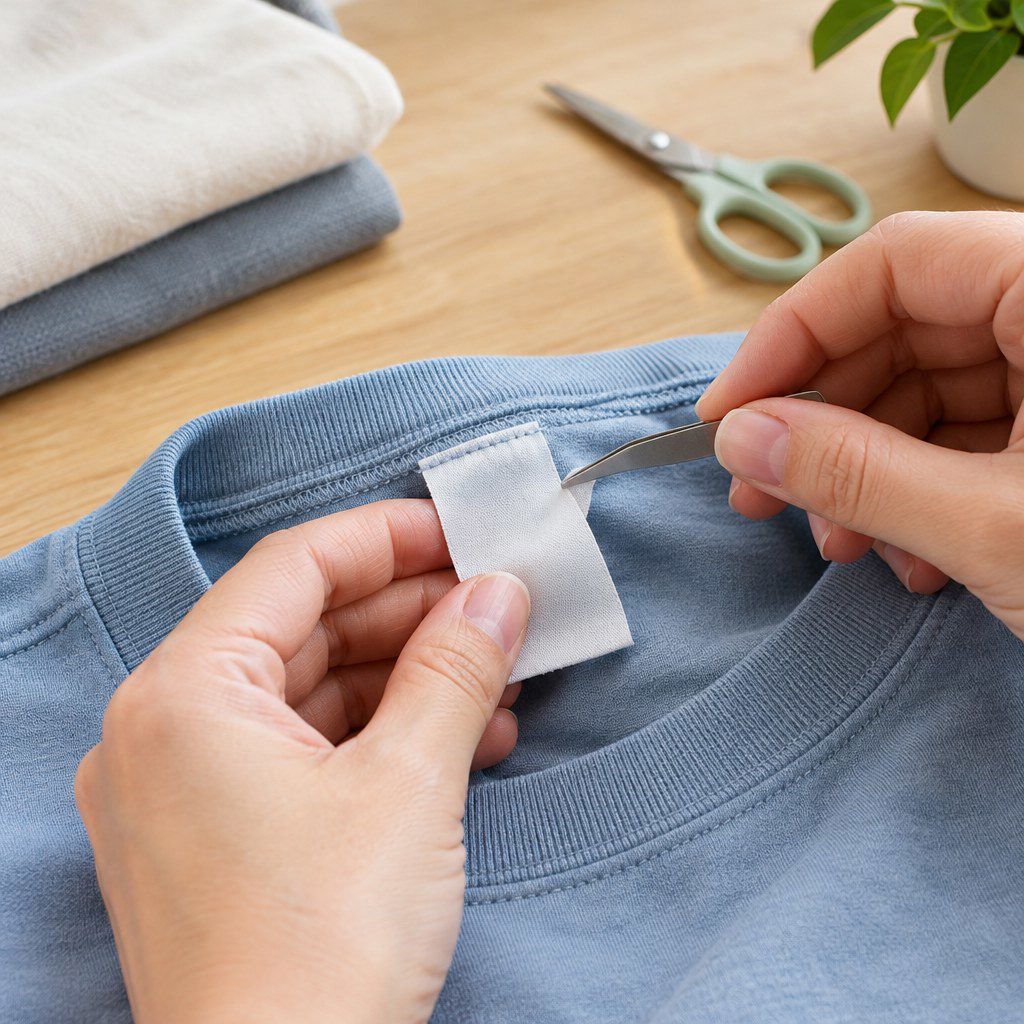
Use a method that targets the attachment rather than the garment. A sharp seam ripper is usually the best tool for stitched labels because it cuts individual threads with more control than scissors. Small embroidery scissors, fine-point tweezers, and a lint roller are also useful for cleanup.
Seam ripper
Best for separate stitch lines and loosely attached tags. Work one stitch at a time, keeping the pointed tip away from the garment fabric.
Small scissors
Useful for a plastic fastener or a label that can be trimmed safely above its stitching. Avoid large household scissors near fine fabric.
Trim only
Best when a label is caught in a load-bearing seam. Trim close enough for comfort, but leave a small fabric margin above the seam.
For lightweight silk, lace, mesh, fine knitwear, leather, or coated fabric, pause before proceeding. These materials can mark, tear, or stretch easily. If the label is firmly integrated into a seam, trimming may be less risky than full removal.
💡 Tip: Test your intended movement on a loose thread or spare fabric first. If you cannot clearly distinguish the label stitches from the garment stitches, do not cut yet.
Step-by-step: remove a sewn-in clothing label
This process works best for labels attached by their own short line of stitching. Work under good light on a clean, flat surface. Keep the garment relaxed rather than stretched, especially if you are working on jersey, rib knit, or elastic fabric.
- Check the location. Turn the garment inside out and follow the seam on both sides. Confirm that the visible threads secure the label alone rather than joining garment panels.
- Photograph the care details. Take a clear picture of fiber content, washing instructions, and size information before removing the label. This gives you a practical reference later.
- Place the label under gentle tension. Hold the label with your fingers or tweezers so the stitches are visible. Do not pull hard enough to distort the seam.
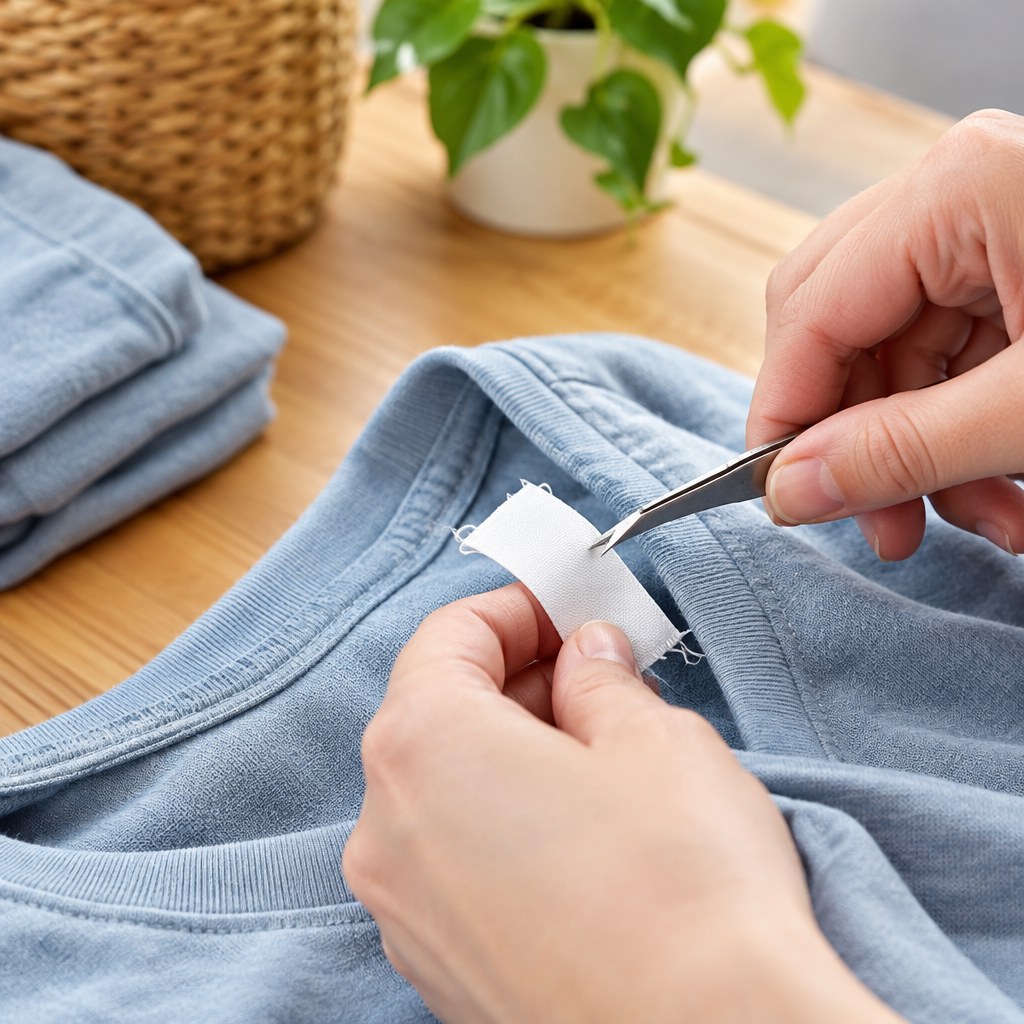
- Cut one stitch at a time. Slide the seam ripper under a thread on the label side. Cut only that thread, then move to the next. Cutting every second or third stitch first can make the label easier to lift.
- Lift and inspect. When the label begins to release, stop and check the garment seam. If the seam opens or shifts, leave the remaining section in place and trim the label instead.
- Remove thread fragments. Use tweezers or a lint roller to collect loose thread ends. Check the outside of the garment for snags, loops, or pulled fibers.
- Finish the edge if needed. If removing the label exposed a short loose thread, secure it with a tiny hand stitch or ask an alterations provider to reinforce the seam.
Do not rush the last few stitches. A label often seems free before one thread near the seam corner is still holding it. Pulling at that point can create a run in knit fabric or pull a seam open several centimeters.
Protect care and compliance information
Before removing any permanent label, decide whether the information will matter later. Care instructions help you wash the garment correctly, while fiber content and size details can be useful for resale, inventory handling, returns, tailoring, or hand-me-down sorting.
If you manage clothing for a business, record the information in the item file before alteration. For example, a resale listing may need accurate fiber content, and a uniform manager may need the original size and laundering guidance. Keep the label photograph with the item record rather than relying on memory.
Avoid common mistakes and recover from damage
The most common errors come from speed, poor visibility, and using too much force. Never tear a label off by hand, even when it appears loosely attached. The stitch line may be holding more than the label, and knit fabrics can stretch before you notice damage.
Cutting too close to the garment
Scissors can catch the fabric behind a label, particularly at necklines and waistbands where layers overlap. If you accidentally cut a small hole, stop handling the area. A simple hand repair may prevent further fraying, while a larger or highly visible cut may need professional mending.
Pulling a seam open
If the seam begins to separate, do not continue removing the label. Put the label back into position, trim only the irritating portion, and secure the open area with matching thread. For stretch garments, use a flexible stitch rather than a tight straight stitch that may snap when worn.
Leaving a scratchy remnant
A roughly cut woven label can be more irritating than the original tag. Round the trimmed corners with small scissors if you have enough clearance from the seam. If the remaining edge still rubs, cover it with a soft fabric patch attached around the edge rather than through the garment’s outer face.
⚠️ Warning: Avoid heat, solvents, adhesive removers, and razor blades on printed labels unless the garment manufacturer specifically supports that method. These approaches can discolor fabric, weaken synthetic fibers, or leave residue.
A practical decision framework
Use a simple three-question check before you begin. First, is the label attached by its own stitches? Second, can you preserve the care information with a photo? Third, would a mistake be costly because of the garment’s material, value, or visibility? If the first two answers are yes and the third is no, careful removal at home is usually reasonable.
Choose trimming instead of full removal when the label shares a structural seam. Choose professional alteration when the garment is delicate, expensive, heavily lined, or difficult to repair invisibly. Leave printed labels alone unless comfort can be improved without damaging the garment.
Your next step is to turn the garment inside out, photograph its care label, and inspect the stitch path under bright light. That short inspection will tell you whether to unpick, trim, cut a fastener, or leave the label in place.
Remove labels with control, not force
Photograph the care details, identify the stitch path, and use the least invasive method that keeps the garment intact.