How to Prepare Mushrooms for Better Browning
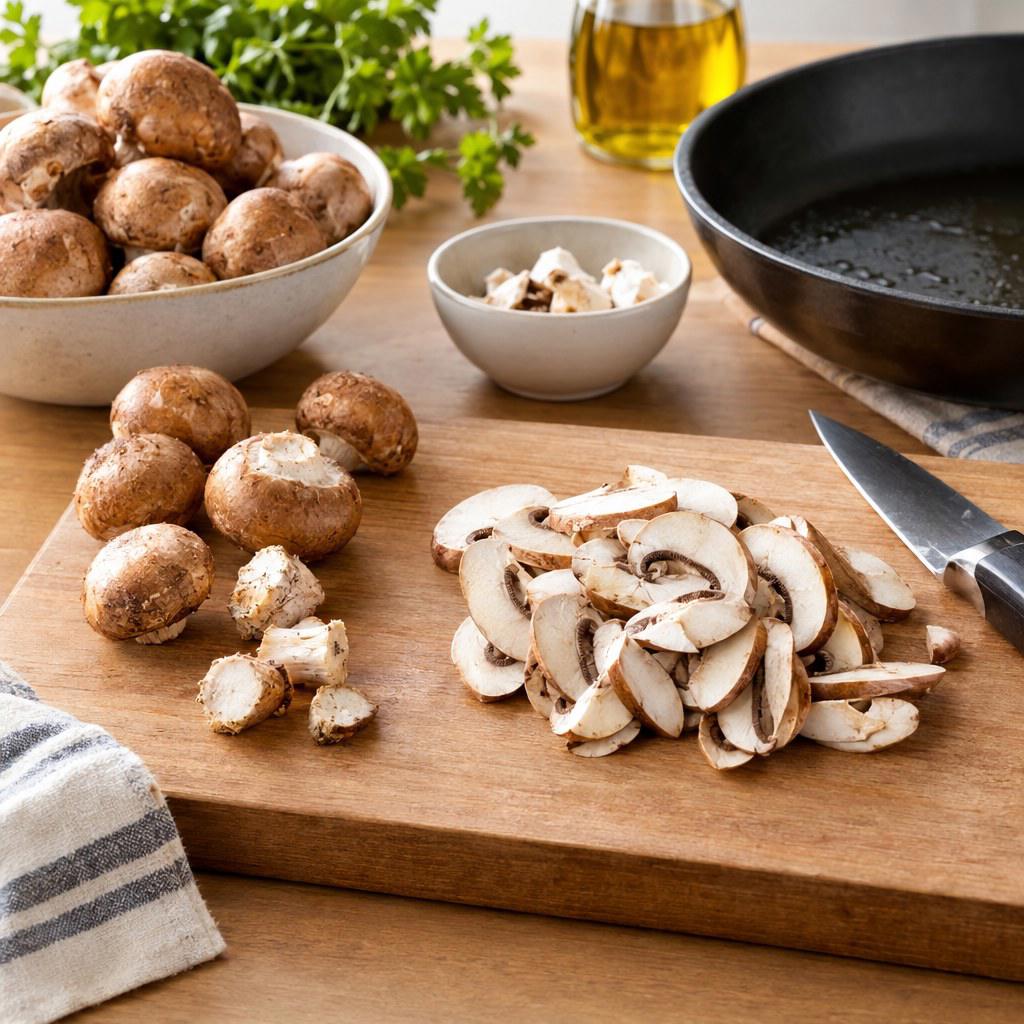
To brown mushrooms well, you need to manage moisture before and during cooking. Start with mushrooms that are dry on the surface, cut them consistently, give them room in a hot pan, and wait to season them until they have released and cooked off much of their water. The result is deeper flavor, firmer texture, and a rich golden-brown finish rather than pale, steamed mushrooms.
Mushrooms contain a great deal of water, which is useful for their texture but works against browning when it collects in the pan. Whether you are cooking for a household, testing a recipe, or preparing a dependable side dish for guests, a repeatable preparation process makes the difference.
Why mushrooms steam instead of brown
Browning happens when the surface of food becomes hot enough and dry enough for flavor-building reactions to occur. Mushrooms challenge that process because their cells release water as they heat. If there is more water in the pan than can evaporate, the mushrooms simmer in their own liquid. They may become tender, but they will not develop the savory color and concentrated flavor you expect.
The most common causes are simple: a crowded pan, a pan that was not fully heated, mushrooms that were stored damp or washed and left wet, and seasoning added too early. Salt draws moisture from mushrooms. Used at the beginning, it can delay browning; used after color develops, it helps you control the final seasoning without sabotaging the sear.
Fat also matters, but it is not a substitute for heat management. Oil or butter helps transfer heat and supports an appealing finish, yet a shallow pool of fat cannot brown mushrooms that are sitting in released water. The practical priority is evaporation first, then contact with a hot pan.
💡 Tip: Think of browning as a moisture-control task. Your goal is not to force instant color; it is to let surface water evaporate before asking the mushrooms to sear.
Choose, clean, and cut mushrooms correctly
The preparation stage begins at purchase. Look for mushrooms that feel firm, have intact caps, and do not appear slimy or heavily wrinkled. A little soil is normal. Condensation inside packaging or visibly wet mushrooms is a warning that you may need extra drying time before cooking.
Clean without soaking
Use a soft brush, dry paper towel, or clean kitchen towel to remove loose dirt. If the mushrooms are genuinely dirty, rinse them briefly under cool water rather than soaking them. Drain them immediately, then spread them on a towel and pat thoroughly dry. A brief rinse does not automatically ruin browning; leaving rinse water on the surface does.
Do not wash mushrooms far in advance unless you can dry and refrigerate them properly. If you clean them ahead, store them in a breathable container or loosely covered bowl with a dry towel nearby to absorb excess moisture. Avoid sealing damp mushrooms in an airtight container, where condensation can develop.
Cut for even contact and even cooking
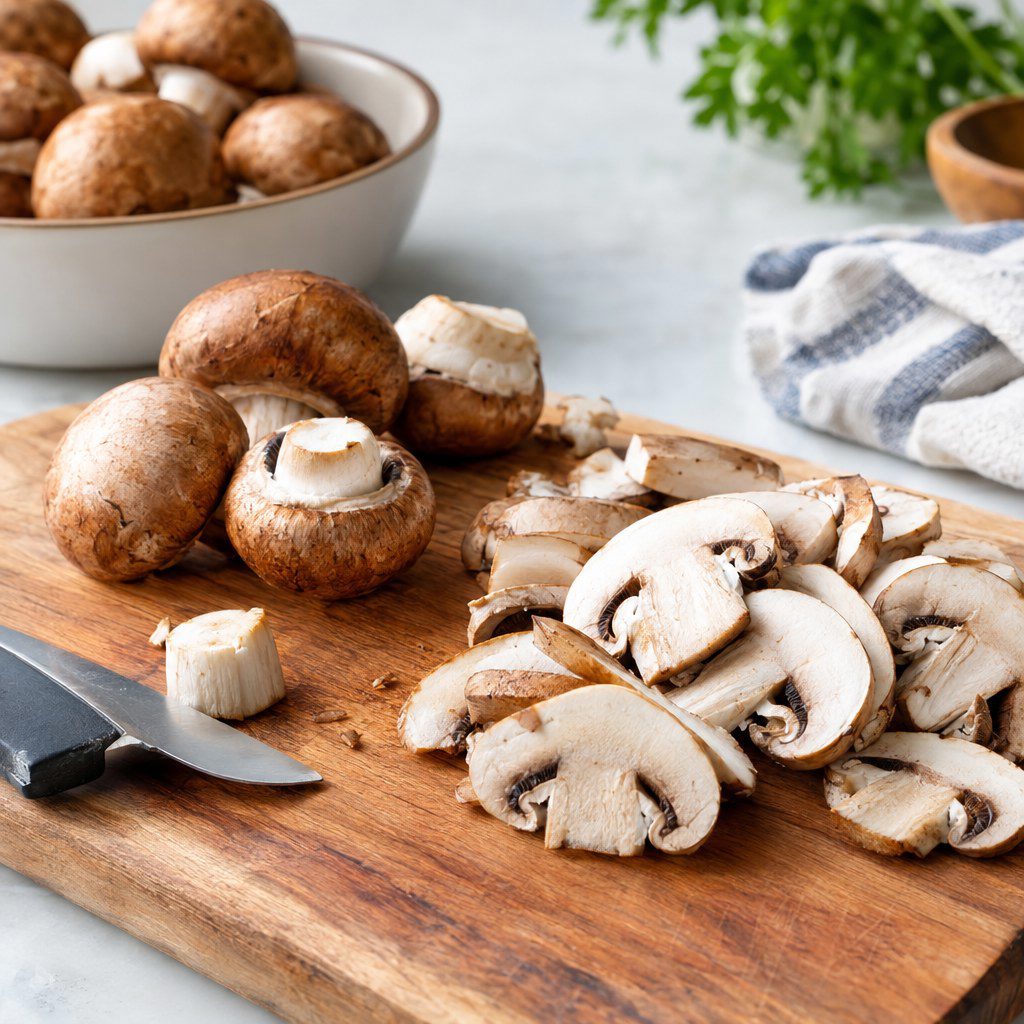
Choose a cut that suits the dish, but keep pieces as consistent as possible. Slice button or cremini mushrooms into similarly thick pieces for a fast sauté. Halve or quarter small mushrooms when you want more substantial bites. Tear oyster mushrooms into strips to create irregular edges that brown attractively. Large portobello caps can be sliced or cut into broad pieces, but remove any tough, dry stem ends first.
Thin slices brown faster but can overcook quickly. Larger pieces take longer and hold more moisture, yet they can develop a satisfying browned exterior with a juicy center. If your recipe needs both speed and texture, use medium-thick slices rather than paper-thin ones.
- Dry the mushrooms after cleaning, including the cut surfaces if they look wet.
- Trim only discolored or tough stem ends; most mushroom stems are edible.
- Cut similar sizes so all pieces finish at roughly the same time.
- Separate very small pieces from very large pieces when possible.
- Cook wet-looking batches in smaller portions rather than adding more heat alone.
Use a reliable pan-browning method
A wide skillet is the most practical tool for mushroom browning. Its broad cooking surface lets moisture escape and gives individual pieces direct contact with the pan. A heavy stainless-steel, carbon-steel, or cast-iron skillet can all work well. Nonstick pans can work too, but use a pan large enough that the mushrooms are not piled deeply.
- Preheat the pan. Set the empty skillet over medium-high heat until it is hot. The pan should feel ready before the mushrooms go in; a lukewarm pan encourages sticking followed by steaming.
- Add a modest amount of fat. Use an oil with a suitable cooking temperature, such as neutral oil or olive oil. Add butter later if you want its flavor, since butter can brown quickly.
- Add mushrooms in a loose layer. Spread them out. Some touching is normal, but avoid a dense mound. If the batch fills the pan more than one layer deep, cook in batches.
- Leave them alone initially. Let the mushrooms make contact with the pan before stirring. Moving them constantly prevents a browned surface from forming.
- Let released water evaporate. Mushrooms may first look glossy, then give off liquid. Continue cooking until the pan becomes relatively dry and the sound shifts from a wet simmer to a clearer sizzle.
- Turn and finish browning. Stir or turn the mushrooms occasionally once moisture has reduced. Add butter, garlic, herbs, or other delicate ingredients near the end.
- Season at the finish. Add salt and acidic ingredients, such as lemon juice or vinegar, after the mushrooms are browned to your liking.
The exact cooking time varies with mushroom type, pan size, batch volume, and stove output. Watch visual and audible cues instead of relying on a fixed minute count. Properly browned mushrooms look reduced in size, have browned edges or faces, and smell nutty and savory rather than watery.
💡 Practical check: If liquid pools around the mushrooms, keep cooking rather than adding more ingredients. Once that liquid has mostly evaporated, browning becomes much easier to control.
Adjust the method for different mushroom types
The core process stays the same, but shape and density affect how you prepare each variety. Matching the cut and batch size to the mushroom prevents uneven results.
Mistakes to avoid and how to recover
Even careful cooks occasionally end up with pale or soggy mushrooms. The useful response is to identify the bottleneck rather than adding more seasoning or turning the heat to maximum.
Overcrowding the pan
When too many mushrooms enter at once, their combined moisture overwhelms the available surface area. Recover by moving part of the batch to a second hot skillet, or remove the mushrooms temporarily and continue reducing the liquid in the first pan. For future batches, use a larger pan or cook in stages.
Adding salt, sauce, or aromatics too soon
Salt, soy sauce, wine, stock, and acidic ingredients all add or draw out moisture. Garlic and delicate herbs can also burn while you wait for water to evaporate. Recover by cooking until the pan dries again, then add these flavorings near the end. If garlic has begun to darken too much, remove it before it turns bitter.
Stirring continuously
Frequent stirring exposes new wet surfaces and limits contact time. Recover by spreading the mushrooms out and giving them an undisturbed interval. You do not need to ignore them completely; you need to turn them with purpose rather than reflex.
Using heat that is too low or too aggressive
Low heat extends the steaming phase. Excessively high heat can scorch oil, burn butter, and blacken thin pieces before moisture is gone. Medium-high heat is usually a sensible starting point. Adjust down slightly if the fat smokes, or up modestly if the pan remains crowded with liquid after the batch has had time to reduce.
- Do not cover the pan while trying to brown mushrooms.
- Do not add a splash of water to “help” mushrooms cook unless you intend to braise them.
- Do not judge doneness only by color; taste for tenderness and seasoning as well.
- Do not add a second raw batch to a pan that is already full of released liquid.
A simple decision framework for better browning
Before cooking, make 3 decisions: Are the mushrooms dry? Is the pan wide enough for the quantity? Are your wet seasonings reserved for the end? If the answer to any question is no, solve that problem before expecting good color.
For a quick weekday sauté, use dry sliced mushrooms, a wide hot skillet, a small amount of oil, and finish with salt and butter. For a larger meal, plan batches rather than forcing everything into one pan. For sauces, soups, or grain bowls, brown the mushrooms separately first, then add them to the wetter dish so their flavor is already developed.
Make your next mushroom batch a simple test
Dry the mushrooms thoroughly, cook only a single loose layer, and delay salt until you see real browned edges. Those 3 changes will give you a clear baseline for refining your preferred texture and flavor.