How to Build a Sandwich With Contrasting Textures
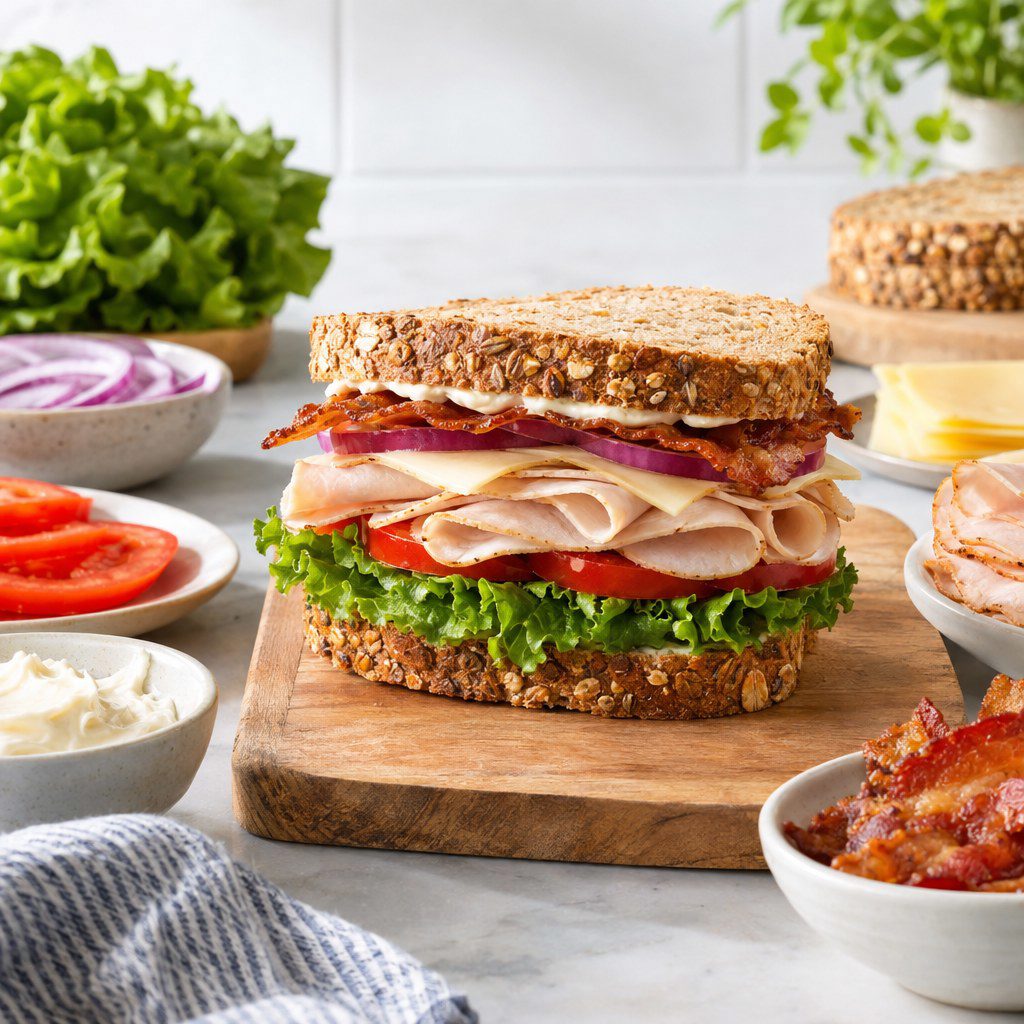
A sandwich with contrasting textures feels complete because every bite combines softness, crunch, creaminess, moisture, and structure. You can build that balance deliberately by choosing ingredients for a distinct job, controlling wet elements, and assembling them in an order that protects the bread from becoming soggy.
The result is not necessarily a complicated sandwich. It is a repeatable method you can use for a quick lunch, a packed meal, or a menu item that needs to hold its quality from assembly to serving.
Why texture matters in a sandwich
Flavor gets most of the attention, but texture often determines whether a sandwich is satisfying or disappointing. A filling made only of soft foods can taste rich but feel dense and monotonous. A sandwich made only of crisp ingredients may be refreshing, yet lack the substance that makes it feel like a meal.
Contrast creates interest. Think of crisp lettuce against tender chicken, a creamy spread against toasted bread, or sharp pickles alongside slow-cooked vegetables. These contrasts give your mouth changing sensations rather than one uniform texture from first bite to last.
Texture also affects function. Bread needs enough structure to contain the filling. Sauces should add lubrication without soaking the crumb. Delicate greens need separation from hot or wet ingredients so they remain crisp. When you treat these as practical design decisions, the sandwich becomes easier to eat and more consistent to make.
Assign every ingredient a texture role
Do not select ingredients only because they sound good together. Before assembling, give each one a purpose. This prevents excess fillings and helps you notice what is missing. Most well-balanced sandwiches use 4 to 6 components, plus bread and seasoning.
Structural ingredients
These ingredients give the sandwich shape and resistance. Bread is the main structural element, but roasted vegetables, firm sliced cheese, a folded omelet, or a crisp chicken cutlet can also contribute. Structure matters most when the sandwich is tall, heavily filled, or intended for transport.
Soft and creamy ingredients
Soft elements bind dry ingredients and make the bite feel less brittle. Examples include mayonnaise, hummus, mashed avocado, soft cheese, egg salad, tuna salad, or a tender protein. Use them with restraint: too much creamy filling can make the sandwich slide apart or hide the contrast you worked to create.
Crisp and crunchy ingredients
Crisp elements bring freshness; crunchy elements add a firmer snap. Lettuce, cabbage, cucumber, radish, apple, celery, toasted nuts, fried onions, and potato chips can all work. Choose one main crisp element first. Adding several can make the filling bulky and difficult to bite through.
Chewy, juicy, or sharp accents
These smaller additions make the texture profile more memorable. Pickles provide a juicy snap. Caramelized onions add chew. Sun-dried tomatoes add density. A thin layer of jam can add stickiness and moisture. Use accents in modest amounts so they support, rather than overwhelm, the main filling.
Choose bread that supports the filling
Bread is not simply a container. Its crust, crumb, thickness, and moisture absorption set the limits for the entire sandwich. Match the bread to the filling rather than choosing the same loaf for every idea.
- Soft sandwich bread works best with light, evenly spread fillings such as egg salad, cucumber, or thinly sliced turkey. It is easy to bite but needs protection from wet ingredients.
- Sourdough or country-style bread suits substantial fillings such as roasted vegetables, grilled cheese, or sliced meat. Its chewy crust adds contrast but can overpower delicate fillings.
- Rolls and ciabatta are useful when you need a crusty exterior and an airy interior. They hold juicy fillings well if you leave some interior crumb intact.
- Wraps and flatbreads provide chew rather than crunch. Add a crisp vegetable, toasted seed, or fried element to avoid a soft, uniform result.
Toasting is one of the simplest texture tools available. It firms the bread, adds a dry surface that resists moisture, and creates a crackly contrast with a soft filling. Toast only the cut side of a roll when you want the exterior to remain tender. Toast both sides when the filling is particularly moist.
Use a practical assembly method
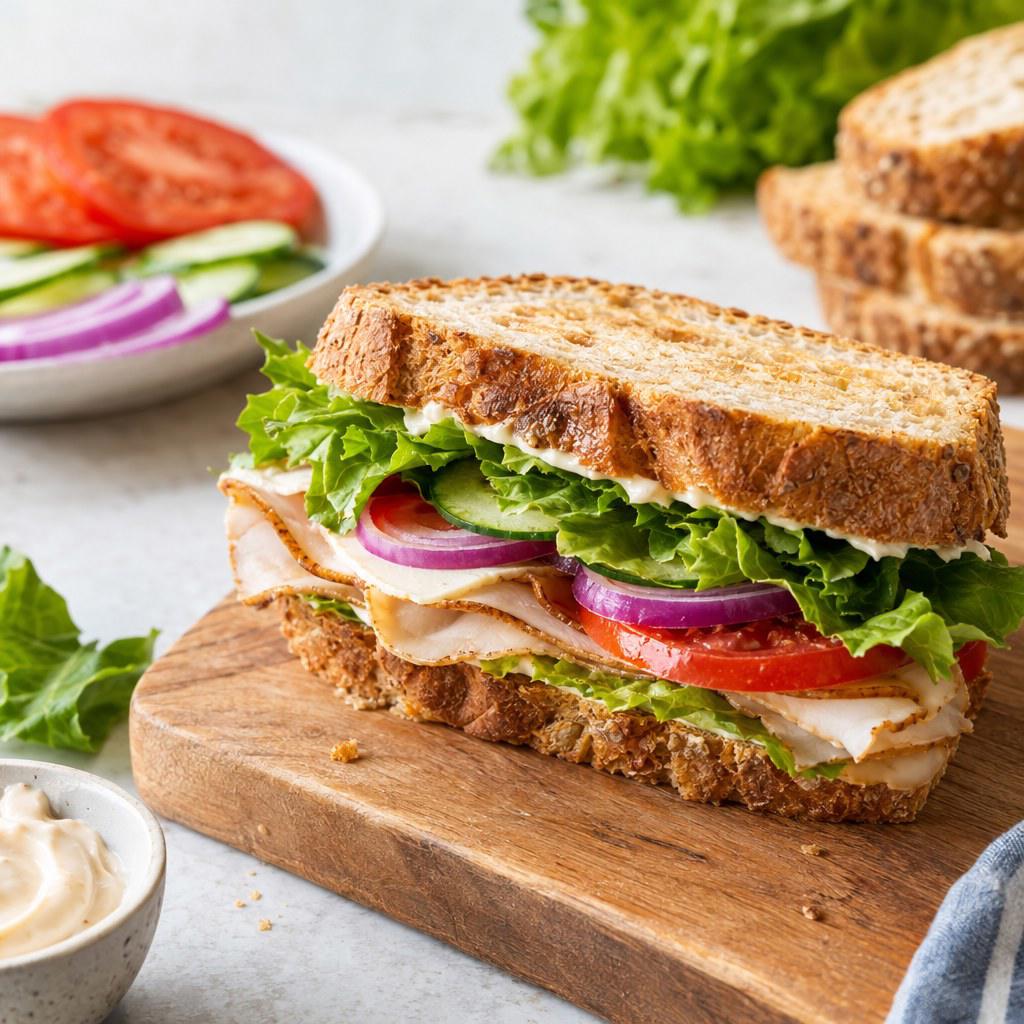
Assembly order determines whether your sandwich stays intact. The most reliable approach is to build moisture barriers near the bread, keep crisp ingredients away from steam and dressing, and distribute the filling across the full surface instead of piling it in the center.
- Prepare ingredients before opening the bread. Dry washed greens thoroughly, drain pickles or roasted vegetables, and slice firm ingredients thinly enough for a clean bite.
- Toast or warm the bread if needed. Let it cool briefly before adding cold greens. Trapped steam can soften both the bread and the crisp elements.
- Add a barrier on each cut surface. Butter, mayonnaise, hummus, soft cheese, or mashed avocado can limit direct contact between wet filling and bread. A barrier should be a thin, even layer.
- Place the main filling in the middle. Meat, cheese, beans, eggs, or roasted vegetables form the body of the sandwich. Keep this layer level rather than overly tall.
- Add crisp ingredients near the top. Put lettuce, cabbage, cucumber, or chips where they will stay dry and retain their texture until serving.
- Finish with wet or acidic accents carefully. Use pickle slices, dressed slaw, tomato, or chutney in a controlled layer. Blot very wet ingredients when necessary.
- Press gently and cut decisively. A gentle press helps layers grip. Use a sharp serrated knife for crusty bread and a smooth knife for very soft loaves.
If you are preparing sandwiches ahead, store juicy ingredients separately whenever possible. Assemble close to serving, or create extra barriers with cheese, greens, or a thicker spread. This is especially useful for packed lunches and batch preparation.
Build reliable texture combinations
You do not need an unusual ingredient to make texture work. Start with a familiar filling, then add one contrasting layer and one supporting layer. The combinations below are useful templates, not fixed recipes.
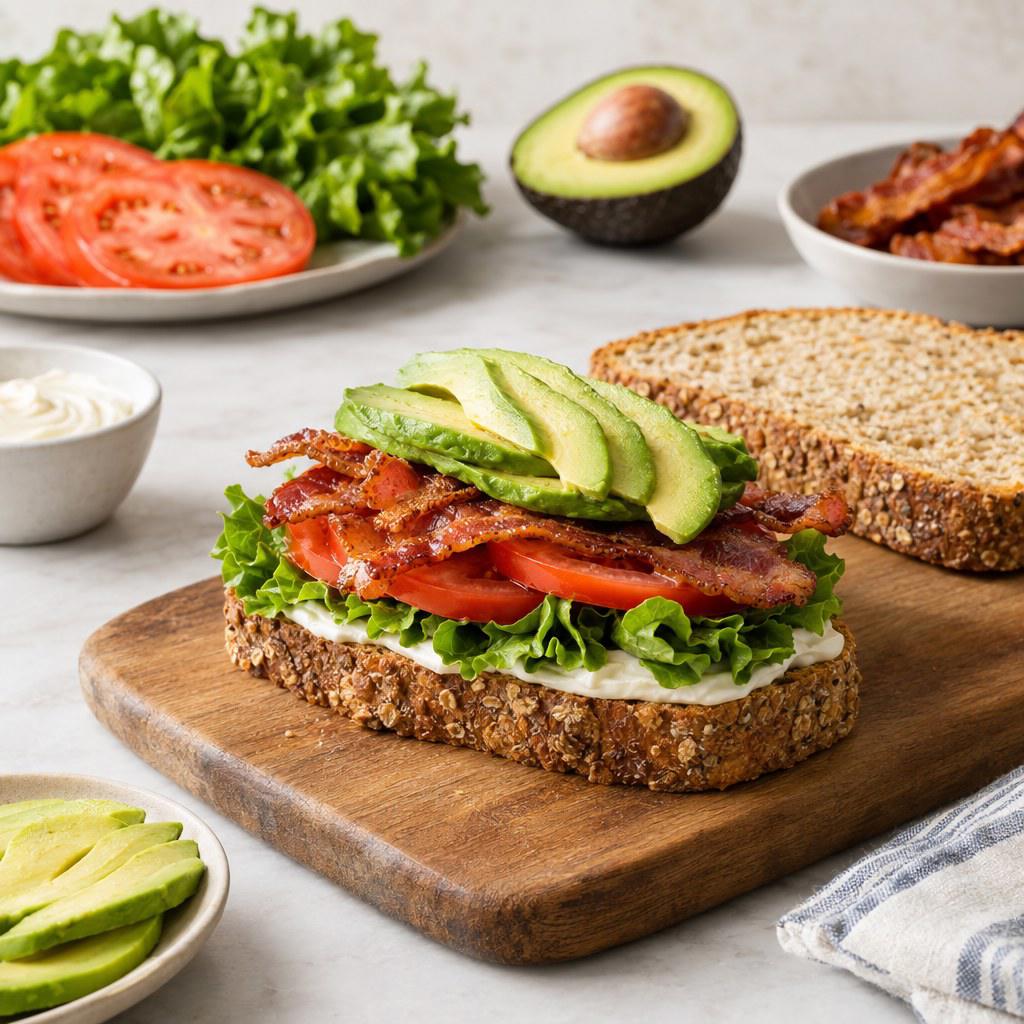
For example, if you begin with soft avocado and tender sliced turkey, add a crisp lettuce leaf and a few drained pickle slices. The avocado provides creaminess, turkey provides a tender chew, lettuce adds freshness, and pickles supply a firm, juicy bite. The ingredients are common, but the roles are clear.
Avoid common mistakes and recover quickly
Using too many wet ingredients
Tomatoes, pickles, sauces, dressed slaw, and roasted vegetables can all release moisture. Combining several without a barrier leads to damp bread. Recover by removing excess liquid, blotting ingredients with a clean paper towel, and using cheese, lettuce, or a spread as a buffer.
Creating a sandwich that is too tall
Height may look generous, but it makes layers slide and prevents a clean bite. Reduce thickness before reducing variety: use thinner slices, spread fillings wider, and fold loose ingredients. A sandwich should compress slightly without forcing its filling out the sides.
Adding crunch that hurts the eating experience
Hard raw vegetables, thick crusts, or large chips can make a sandwich difficult to bite. Slice firm ingredients thinly, use shredded cabbage instead of thick cabbage wedges, and crush chips lightly before adding them. Crunch should be noticeable, not a struggle.
Ignoring temperature contrast
A hot filling can wilt greens and melt a spread into the bread. A cold ingredient can also make melted cheese set too quickly. Let hot components settle briefly, then assemble. If the sandwich is meant to be served warm, add delicate crisp items at the last moment.
Use a simple decision framework
When you build a sandwich, make 4 quick decisions: choose bread for structure, choose a main filling for substance, add one creamy or soft element, and add one crisp or crunchy contrast. Then identify the wettest ingredient and keep it away from unprotected bread.
If the sandwich feels heavy, add freshness rather than more sauce. If it feels dry, add a thin spread or a juicy accent. If it feels flat, add crunch or a sharper pickled element. This approach lets you improve familiar combinations without relying on complicated recipes.
Build your next sandwich by texture first
Choose 1 soft element, 1 crisp element, and bread that can handle the filling. Make a small test sandwich, note what disappears in the bite, and adjust the next version with one targeted change.