How Oral Histories Preserve Family Memories
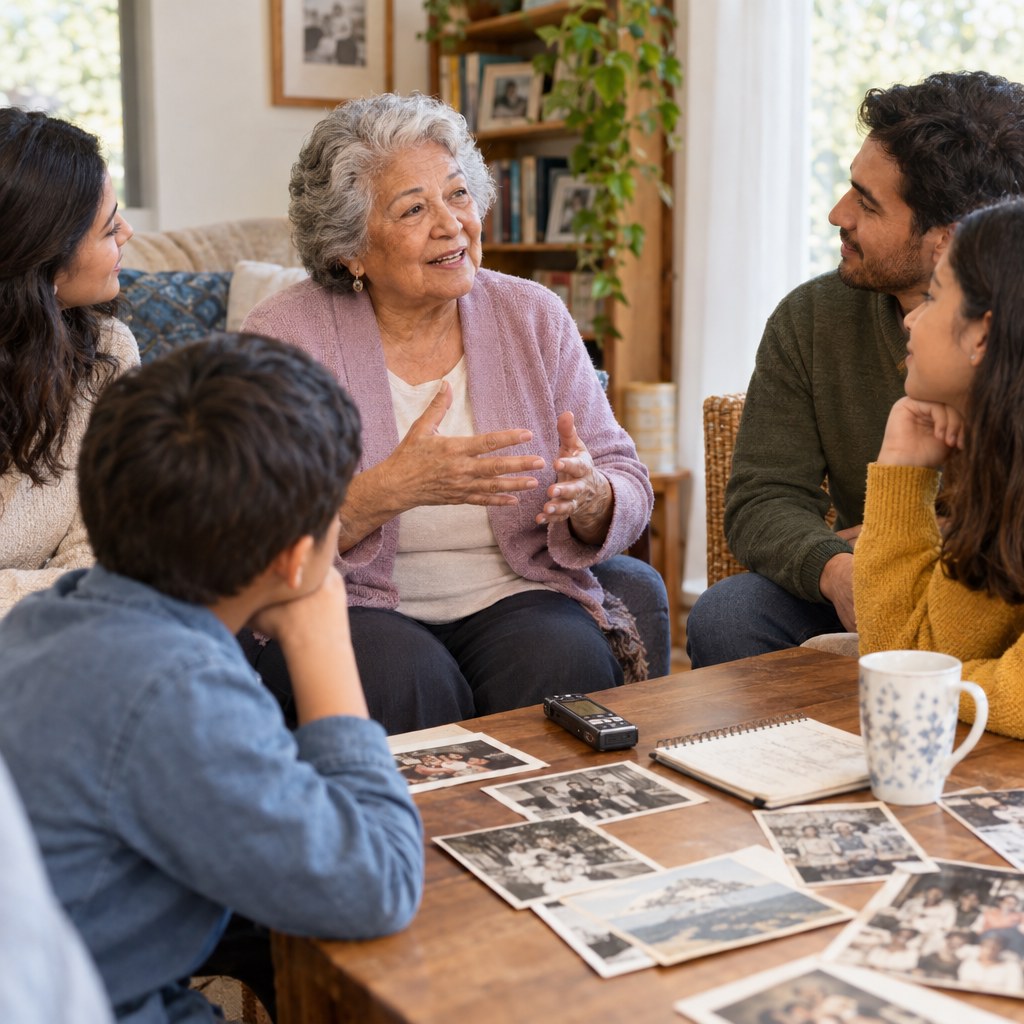
Oral histories preserve family memories by keeping the meaning behind names, photographs, traditions, and turning points in a person’s own voice. A recorded conversation can capture details that documents rarely hold: how a home felt, why a decision was made, what a relative valued, and which stories deserve to be passed on.
For families, organizers, and anyone responsible for preserving personal records, the practical goal is not to create a perfect biography. It is to make a usable, respectful record that relatives can revisit, understand, and care for over time.
Why voices preserve what records miss
A family archive often begins with visible items: albums, certificates, recipe cards, letters, and inherited objects. These materials are valuable, but they can leave important questions unanswered. A photo may show a wedding party without identifying the people. A military record may establish dates without explaining how service affected daily family life. A handwritten recipe may not reveal who taught it, when it was made, or why it mattered.
Oral history adds context. It records recollection, interpretation, language, humor, pauses, and emphasis. Those qualities matter because memory is not merely a list of facts. It is also a record of how someone understood their life and relationships.
That does not mean every remembered detail should be treated as independently verified fact. Memories can be incomplete, shaped by time, or different from another relative’s account. Their value is still real: an oral history documents a person’s perspective. When accuracy matters for a date, legal matter, property question, or family-tree record, compare the story with available documents and label uncertainty clearly.
💡 Tip: Treat a recording as both a source of family facts and a record of personal viewpoint. Notes such as “as remembered by Aunt Maria, recorded in 2026” make that distinction clear for future listeners.
For a business owner or practitioner who helps clients organize homes, estate materials, or family archives, this distinction is especially useful. You can encourage people to record stories before sorting items into boxes, scanning every photograph, or deciding what to donate. A 30-minute conversation may reveal why a seemingly ordinary object should remain with the family.
What an oral history can preserve
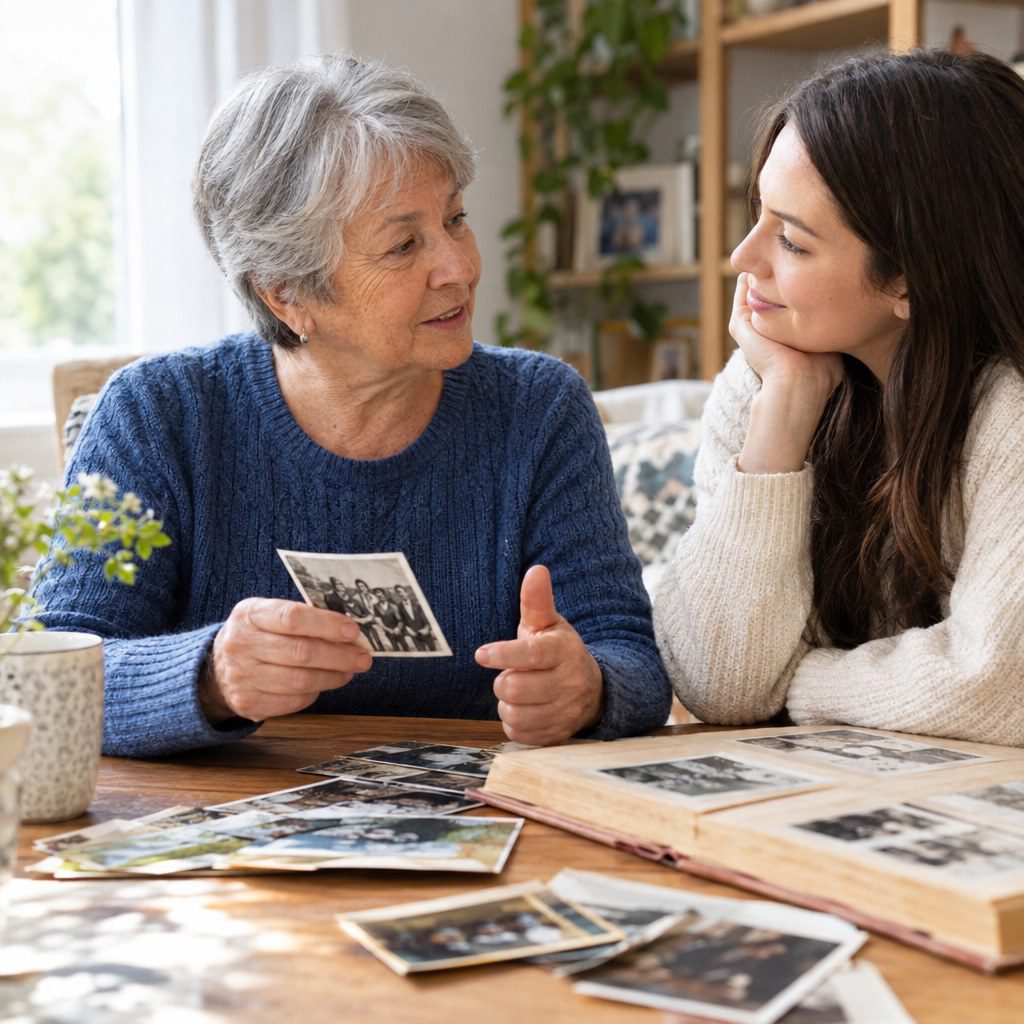
The most useful interviews combine broad life stories with specific prompts tied to people, places, and objects. You do not need to cover every year in equal detail. Instead, prioritize memories that explain relationships, routines, transitions, and traditions that may otherwise disappear.
Places and routines
Ask about homes, neighborhoods, school journeys, workdays, meals, and household customs. These details make a family timeline feel lived rather than abstract.
Objects and photographs
Use an item as a prompt. Ask who owned it, how it was used, where it came from, and what story should stay attached to it.
Values and choices
Invite reflection on decisions, lessons, celebrations, disappointments, and hopes. This can help younger relatives understand the principles behind family traditions.
Questions that invite stories
Good questions are open enough to allow a story, but focused enough to give the speaker a starting point. Replace “Tell me everything about your childhood” with prompts such as “What do you remember hearing in the kitchen after school?” or “Who taught you that recipe, and when did you usually make it?”
- What did an ordinary weekend look like in your home?
- Which family member made you laugh, and what do you remember about them?
- What family saying, song, food, or holiday ritual do you hope continues?
- What was difficult about a move, job change, or major transition?
- Is there a photograph you wish more people understood?
- What do you want younger relatives to know about this period of your life?
Do not force a chronological interview if it makes the conversation feel like an interrogation. Moving between a photo, an object, and a memory can be more natural. You can later organize the material by theme or date.
How to plan and record an interview
Preparation makes an oral history easier for both the interviewer and the narrator. The equipment can be simple: a phone, tablet, computer, or audio recorder can work when it produces clear sound and you know where the file will be saved. A quiet room and a prepared question list matter more than elaborate gear.
1. Agree on purpose and boundaries
Before recording, explain what you hope to capture and who may hear it. Ask whether the person is comfortable being recorded, whether any subjects are off limits, and whether particular parts should remain private for now. Consent is an ongoing conversation, not a one-time formality. If the speaker changes their mind, pause and discuss what should happen to the recording.
2. Make a short interview plan
Create a one-page outline with a few themes, supporting questions, and any photos or objects you may discuss. Plan for a manageable session rather than trying to cover an entire life at once. A focused conversation about one home, one occupation, or one family tradition often produces clearer material than an exhausting all-day session.
3. Test sound and reduce distractions
Record a brief test and listen through headphones if possible. Turn off television audio, silence notifications, and place the device close enough to capture speech. If several people are present, ask each speaker to say their name before contributing, especially when voices might be unfamiliar to future listeners.
4. Begin with an identification statement
At the start, say the narrator’s name, the interviewer’s name, the recording date, the general location, and the subject of the session. For example: “This is a conversation with my grandfather about growing up near the river and his first job.” This simple introduction helps separate one file from another years later.
5. Listen more than you speak
Use follow-up questions: “What happened next?” “Who was there?” “How did that change things?” Avoid correcting minor details during the story. If you need to clarify a name or date, make a brief note and return to it gently after the person has finished their thought.
How to organize and preserve recordings
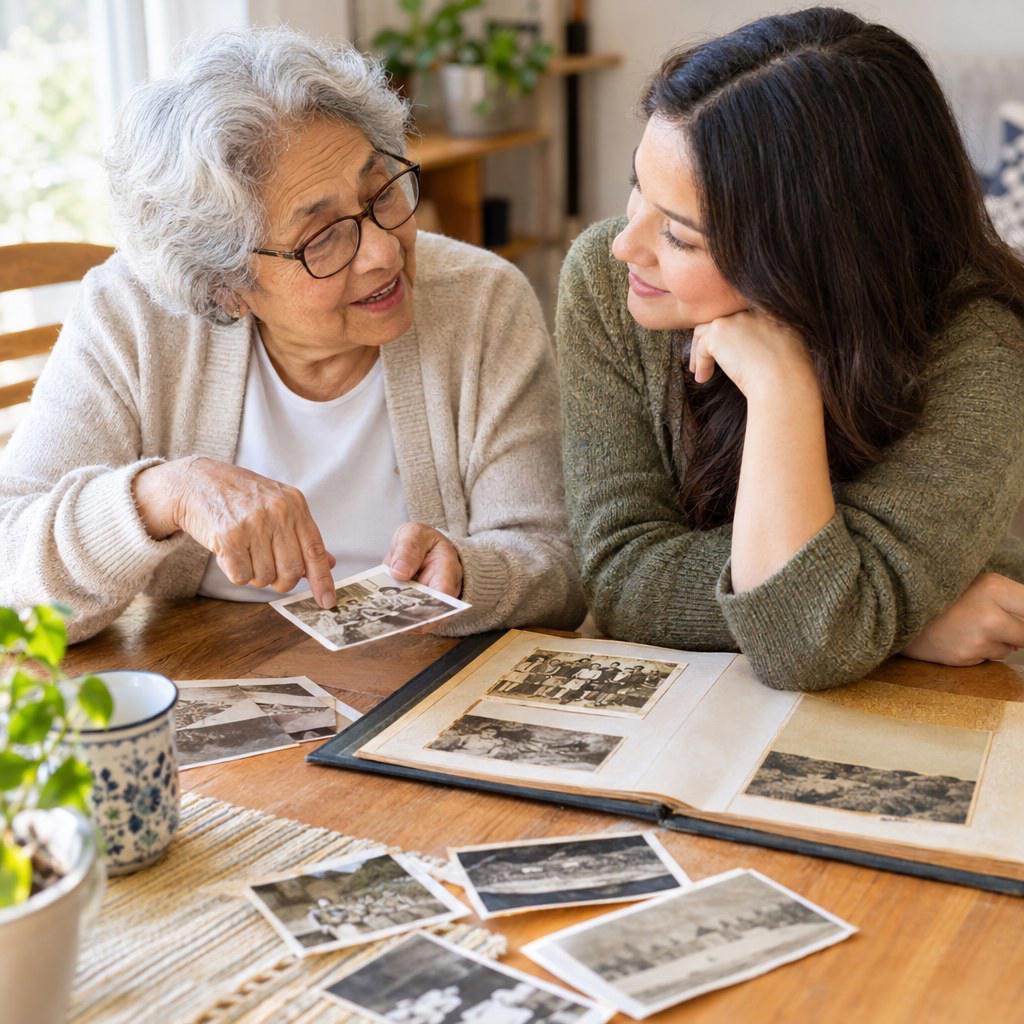
A recording is only useful if your family can identify, find, and play it later. Build preservation into the process from the first interview. This reduces the risk of leaving meaningful files on one person’s phone with unclear names and no context.
Name files consistently
Use a predictable file name that includes the interview date, narrator name, and main topic. For example, “2026-11-19_Lee-Jordan_Childhood-home-audio.” Avoid vague labels such as “New Recording 4.” Keep a separate index document that lists each file, its length, participants, topics, and any access restrictions.
Create a written companion
You do not need a word-for-word transcript for every recording. A summary with time markers can be more practical. Note where key stories begin, identify people mentioned, and flag uncertain spellings or dates for later review. If you do create a transcript, preserve the audio too; tone and delivery are part of the record.
Choose storage based on your family’s comfort, privacy needs, and technical ability. A shared digital folder may be convenient, while an external drive can offer a useful additional copy. If you are handling sensitive family material for someone else, agree in writing on who owns the recordings and who can access them before transferring files.
Risks, mistakes, and recovery steps
The largest risk is waiting until a story can no longer be told. Perfectionism also causes delay: people may postpone interviews because they have not found the ideal microphone, questions, or archive system. Start with what you have, then improve your method as you go.
Avoid these common mistakes
- Asking only fact-checking questions. Dates and names matter, but sensory details and feelings often make a recording memorable.
- Recording without permission. Respect privacy, especially around conflict, health, finances, adoption, or other sensitive topics.
- Interrupting to correct. Let the narrator finish, then ask for clarification without turning the interview into a debate.
- Saving only one copy. Device loss, damage, and forgotten passwords can make a single file inaccessible.
- Sharing too widely. A family story can be meaningful without being appropriate for social media or public distribution.
📋 Recovery step: If an interview feels rushed or incomplete, do not treat it as a failure. Save it, label it clearly, and schedule a follow-up focused on one unanswered topic. Several shorter conversations often create a stronger record than one pressured session.
A simple decision framework
Use oral history when you need to preserve context that objects and documents cannot carry alone. Begin with the person, story, or item that feels most time-sensitive. Ask permission, prepare a short set of open questions, record in a quiet place, and save the original with clear identifying notes.
Then make one decision about access: private family record, limited sharing with named relatives, or broader use with explicit permission. This decision can be revisited, but it should not be assumed.
The strongest family archive combines records with voices. Documents establish useful reference points; oral histories explain why those reference points mattered. Together, they give future relatives something more durable than isolated names and dates: a sense of connection.
Start with one conversation
Choose one relative, one meaningful photograph or object, and 3 open questions. Record the story, name the file clearly, and make a backup before the day ends.