How to Build a Useful Home Toolkit
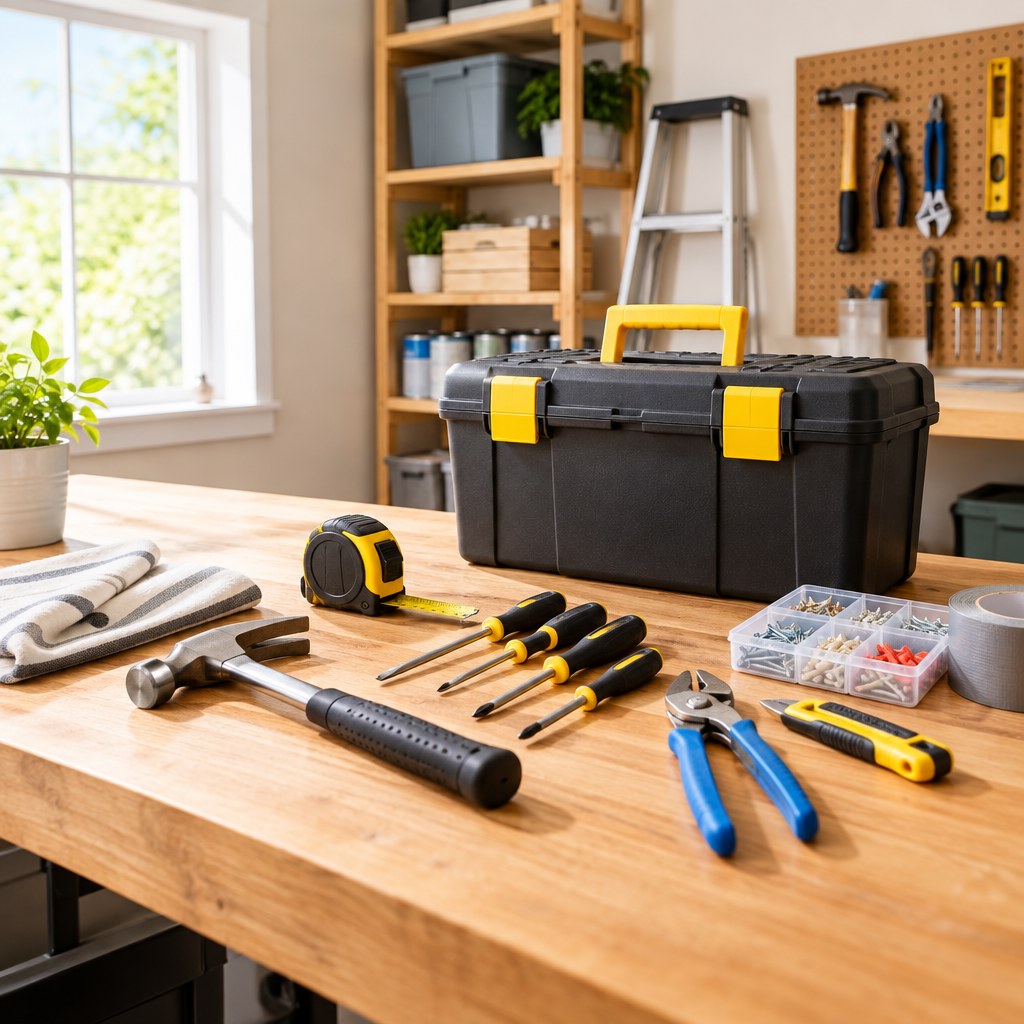
A useful home toolkit is not the largest collection of tools you can buy. It is a small, organized set of reliable essentials that lets you handle common repairs, assembly jobs, adjustments, and maintenance without improvising or making a problem worse. Build it around the work you actually expect to do, then add specialist tools only when a real need appears.
For homeowners, renters, landlords, and people responsible for a workspace, the goal is simple: keep the right tool available, in working order, and easy to find. A thoughtful toolkit reduces delays on small tasks and helps you recognize when a job requires a qualified professional instead.
Start With the Jobs You Need to Do
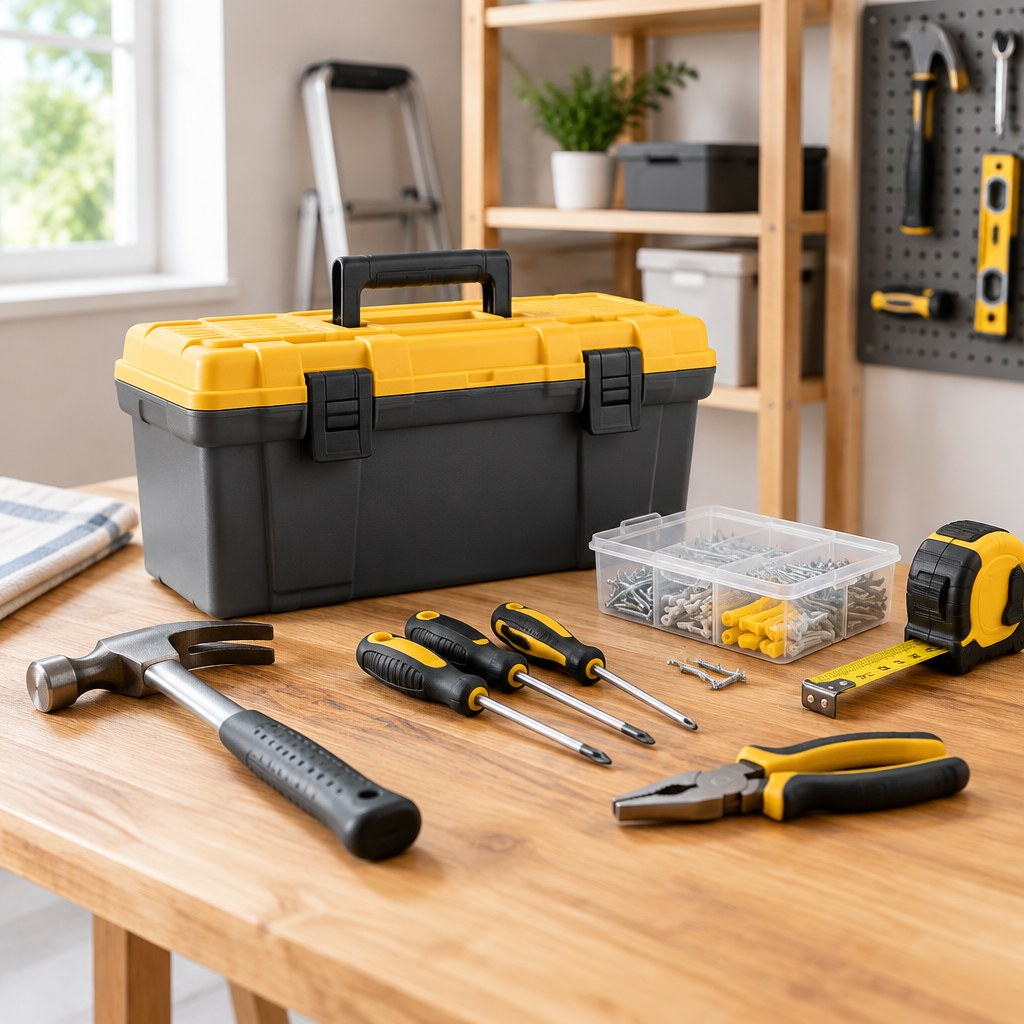
Many toolkits become cluttered because tools are purchased for imagined projects rather than recurring tasks. Before buying anything, make a quick list of the jobs you encounter at home. Include furniture assembly, hanging pictures, tightening loose handles, changing batteries, opening packages, patching small holes, measuring spaces, and basic garden or outdoor upkeep.
Your living situation matters. If you rent, you may prioritize removable hanging hardware, a compact drill, and tools for assembling flat-pack furniture. If you own an older property, you may need more measuring tools, pliers, replacement fasteners, and equipment for minor maintenance. If you manage a small office or short-term rental, duplicate the tools used most often rather than relying on one kit that travels between locations.
Separate routine tasks from occasional projects
Routine tasks justify owning a tool. Occasional, expensive, or high-risk tasks may be better served by borrowing, hiring help, or renting equipment. For example, a screwdriver set is useful in almost every home. A tile saw may make sense only if you already have a specific tiling project planned and understand how to use it safely.
💡 Tip: Keep a note on your phone for 2 to 3 months. Each time you borrow, search for, or wish you owned a tool, write down the task. Repeated needs reveal what belongs in your permanent kit.
Build the Core Toolkit First
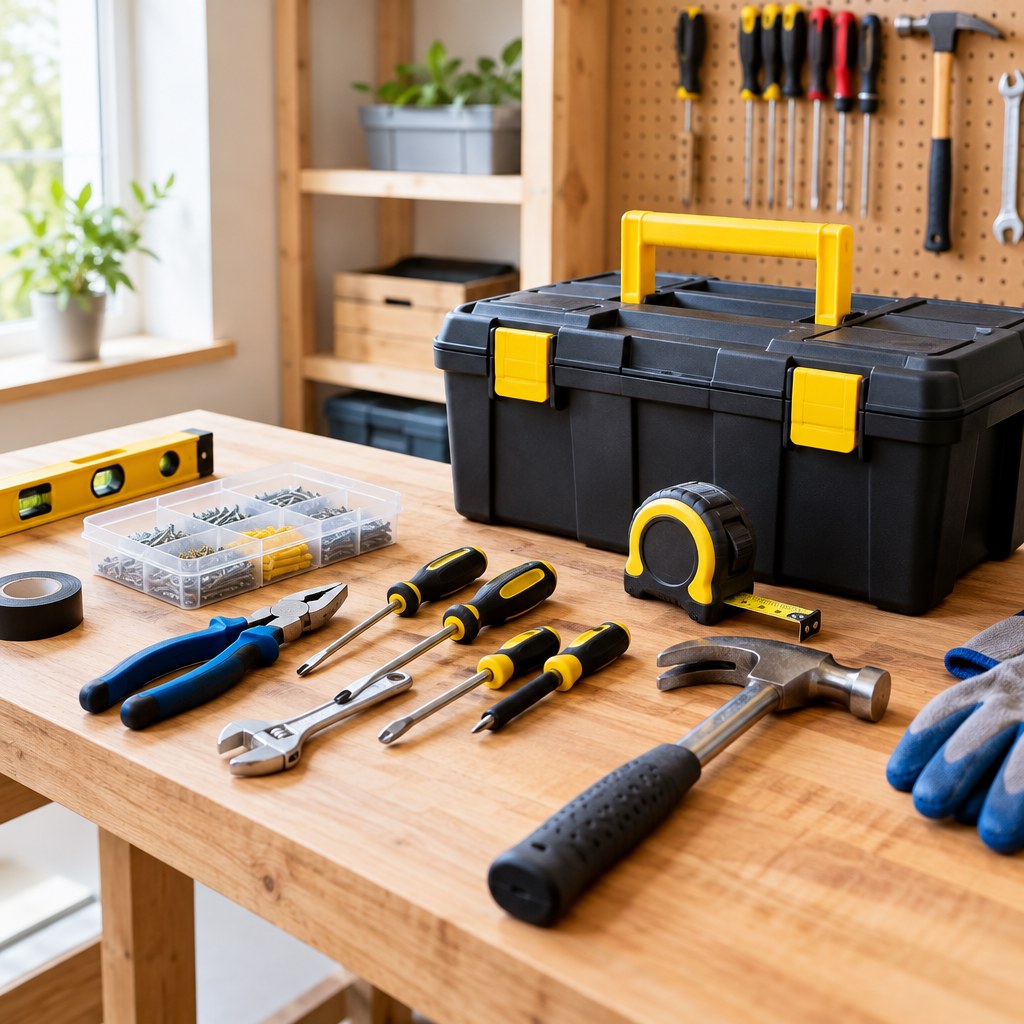
A core toolkit should solve ordinary household problems without taking over a cupboard. Start with hand tools, measuring tools, fastening supplies, and basic protective equipment. Choose tools with comfortable grips, clear markings, and sturdy moving parts. You do not need professional-grade equipment for every task, but avoid tools that flex, strip, or fail after light use.
Fastening tools
Keep a multi-bit screwdriver or separate flat-head and Phillips drivers, an adjustable wrench, and a small set of hex keys. These handle furniture, fixtures, brackets, and many appliances.
Measuring and marking tools
A tape measure, spirit level, pencil, and utility knife prevent avoidable errors. Accurate measuring is often more valuable than buying another specialist tool.
Cutting and gripping tools
Add a claw hammer, combination pliers, needle-nose pliers, scissors, and a utility knife with replaceable blades. Use each only for its intended material and task.
Protection and small supplies
Include work gloves, safety glasses, a flashlight, masking tape, assorted screws, wall plugs, picture hooks, and cable ties. Store sharp items and blades safely.
A cordless drill-driver is often the next logical purchase after these basics. It can speed up furniture assembly and make pilot holes for suitable household mounting jobs. Select one with a charging system you can maintain and a clutch setting that helps prevent overtightening screws.
Buy for Fit and Reliability, Not for Quantity
Tool sets can look economical, but a large set may include sizes and accessories you never use. Compare sets by the components you need, not by the number printed on the box. A smaller collection of dependable tools is usually easier to store, inspect, and replace.
When possible, hold hand tools before buying. Check whether the handle feels secure, whether controls move smoothly, and whether the tool is easy to operate with your usual grip. For powered tools, consider battery availability, charger storage, replacement parts, and the type of work you expect to perform.
If your budget is limited, buy the basic version of a tool that you can use safely and comfortably. Upgrade when frequent use reveals a genuine weakness. This approach avoids paying for advanced features before you understand whether they matter to your work.
Organize and Maintain the Kit
A toolkit only saves time when its contents have a consistent home. Use a portable toolbox, tool bag, drawer organizer, or lidded storage bin that matches your available space. Keep frequently used items together, and place small parts such as screws, bits, and wall plugs in labelled compartments.
Store tools in a dry area away from children and pets. Moisture can damage metal tools and batteries, while loose blades and sharp points create an unnecessary hazard. Return tools after each job rather than leaving them in the room where you used them.
Use a simple maintenance routine
- Wipe dust, paint, adhesive, or moisture from tools before storage.
- Check screwdriver tips, hammer handles, plier jaws, and knife blades for damage.
- Replace dull utility blades instead of applying extra force.
- Charge and store rechargeable batteries according to the manufacturer’s instructions.
- Restock commonly used screws, hooks, tape, and wall fixings after a project.
For a shared home or workplace, label the case and agree on a return rule. A simple inventory card inside the lid can identify missing items quickly without turning tool management into a complex process.
Build It Step by Step
- List your likely jobs. Review the last few household tasks and note upcoming furniture, maintenance, or decorating work.
- Choose a storage location. Measure the available shelf, cupboard, or utility area before choosing a case.
- Buy the core hand tools. Start with fastening, measuring, gripping, cutting, and safety essentials.
- Add supplies that match your walls and fixtures. Keep only fixings you can identify and use correctly.
- Test your organization. Complete a small task, then notice what was hard to locate or missing.
- Add specialist tools only after repeat demand. Record the reason for each addition so the kit remains purposeful.
For example, if you repeatedly assemble furniture, add a drill-driver and a fuller bit set. If you frequently hang frames, prioritize a level, picture hooks, suitable wall fixings, and a stud finder where appropriate. Let actual work determine the next purchase.
Avoid Mistakes and Know Your Limits
The most common toolkit mistake is using the wrong tool because it is nearby. A knife is not a screwdriver, pliers are not a wrench substitute for every fitting, and a hammer should not be used to force delicate components into place. Wrong-tool shortcuts can damage the workpiece, strip fasteners, or cause injury.
Another mistake is treating every repair as a do-it-yourself task. Stop and seek qualified help when a job involves electrical wiring, gas equipment, structural changes, major plumbing leaks, unknown materials, or work at height. Check local requirements and the instructions supplied with your equipment before beginning work that could affect safety or property systems.
⚠️ Safety check: If a screw will not turn, a fitting does not match, or a material is unfamiliar, pause rather than applying more force. Identify the fastener, tool, and surface first.
If a project goes wrong, document what you have tried, keep any relevant parts, and avoid covering up damage before you understand the cause. Clear notes and photos can help a tradesperson assess the problem efficiently.
Use a Simple Decision Framework
Before adding a tool, ask 3 questions: Will you use it more than once? Does it make a regular task safer or more accurate? Can you store and maintain it properly? If the answer is yes, it is probably a sensible addition. If not, borrowing, renting, or hiring help may be the better choice.
Your best toolkit is a living system: compact enough to use, broad enough to solve everyday problems, and organized enough that every item earns its place.
Start With One Useful Box
Choose a storage case, list your most common home tasks, and assemble the core tools first. Add only what your real projects prove you need.