How to Organize Digital Receipts
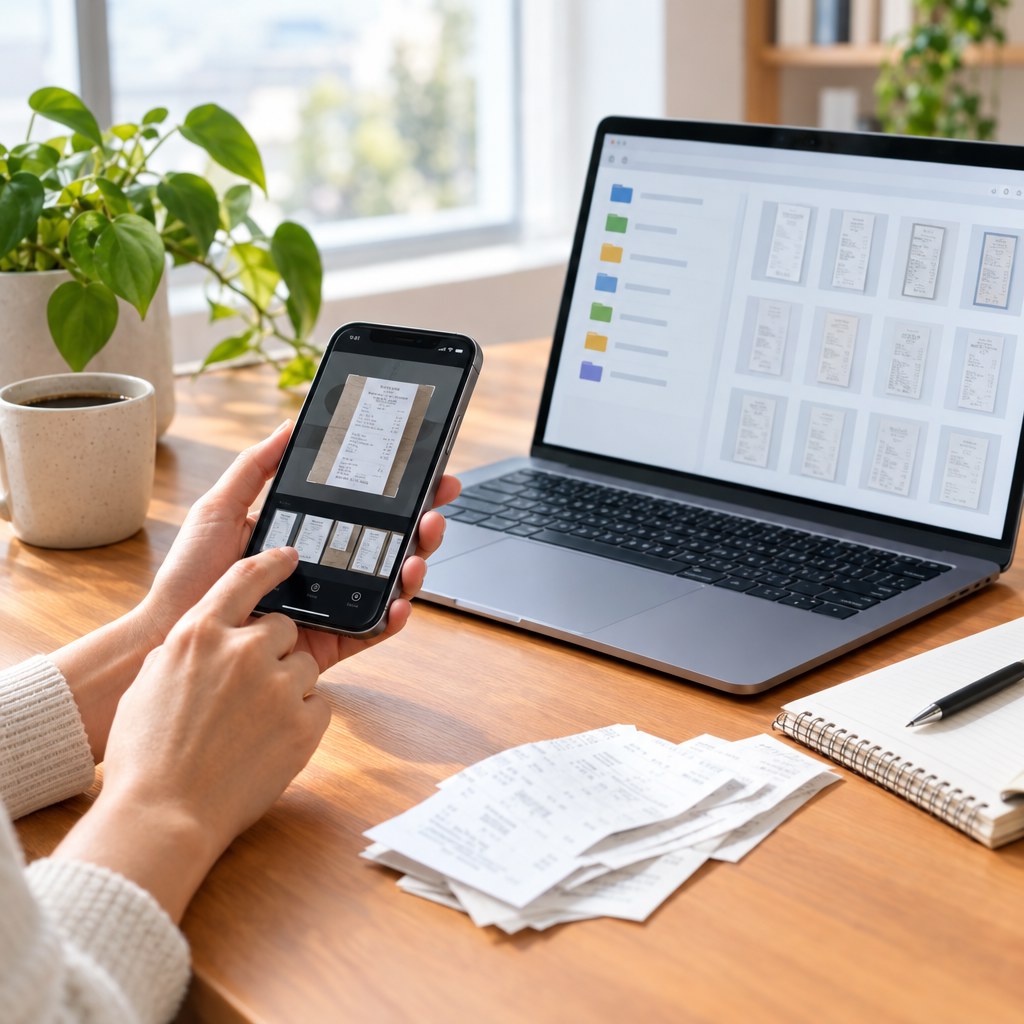
Organizing digital receipts means giving every purchase a dependable home, a consistent name, and a simple review routine. With a clear system, you can find proof of purchase quickly, track expenses with less effort, and keep important records from disappearing into an email inbox, downloads folder, or phone gallery.
For most people and small businesses, the best approach is not a complicated app or a huge filing structure. It is a repeatable workflow: collect receipts, standardize them, store them in a secure location, and review them on a schedule.
Why Digital Receipts Become Disorganized
Digital receipts arrive through too many channels. A retailer may email a PDF, a payment app may show a transaction record, an online shop may keep an order page, and a paper receipt may need to be photographed. When each format stays in its original location, finding one purchase later becomes a search across several accounts and devices.
The main problem is usually not volume. It is inconsistency. You may save a warranty receipt in Downloads, leave a business meal receipt in email, and keep a repair invoice as an unread message on your phone. Each choice seems reasonable at the time, but the collection becomes harder to search as it grows.
Receipts serve different purposes
Before you organize anything, separate the reasons you keep receipts. A return or exchange receipt needs to be easy to access in the short term. A warranty or major purchase record may matter for years. Business expense receipts may need to match bookkeeping records. Household receipts can support a budget, insurance inventory, or maintenance history.
These purposes do not require identical retention periods. Your local tax rules, workplace policy, insurance requirements, and product warranty terms may all affect what you keep and for how long. Check the relevant documents or ask a qualified local professional when you need guidance on record retention.
Choose a Receipt System That Fits Your Needs
You need one primary storage location, not necessarily one tool for every task. The best system is the one you can open easily, search confidently, and maintain without turning receipt filing into a weekly project.
Option 1: Cloud storage folders
A cloud storage service is a practical choice if you want control over folders and filenames. It works well for household records, freelancers, and small teams that already store documents online. Searchable PDFs and descriptive file names make this option especially useful when you need to locate a receipt by merchant, date, or item.
Option 2: Accounting or expense software
If receipts support regular business expenses, accounting or expense software may reduce duplicate work. Look for a system that lets you attach documents to transactions, categorize purchases, and export records when needed. Confirm that it supports your accounting process before moving your entire archive into it.
Option 3: A dedicated receipt inbox
A separate email label, folder, or mailbox can capture incoming receipts before you file them. This is useful, but it should be a staging area rather than your permanent archive. Email search is helpful until you need to compare expenses, identify a missing document, or retrieve a receipt after changing email providers.
💡 Tip: Choose one location as the source of truth. You can keep an email receipt for convenience, but save the final PDF, image, or exported receipt in your chosen archive as well.
Build a Filing Structure You Will Use
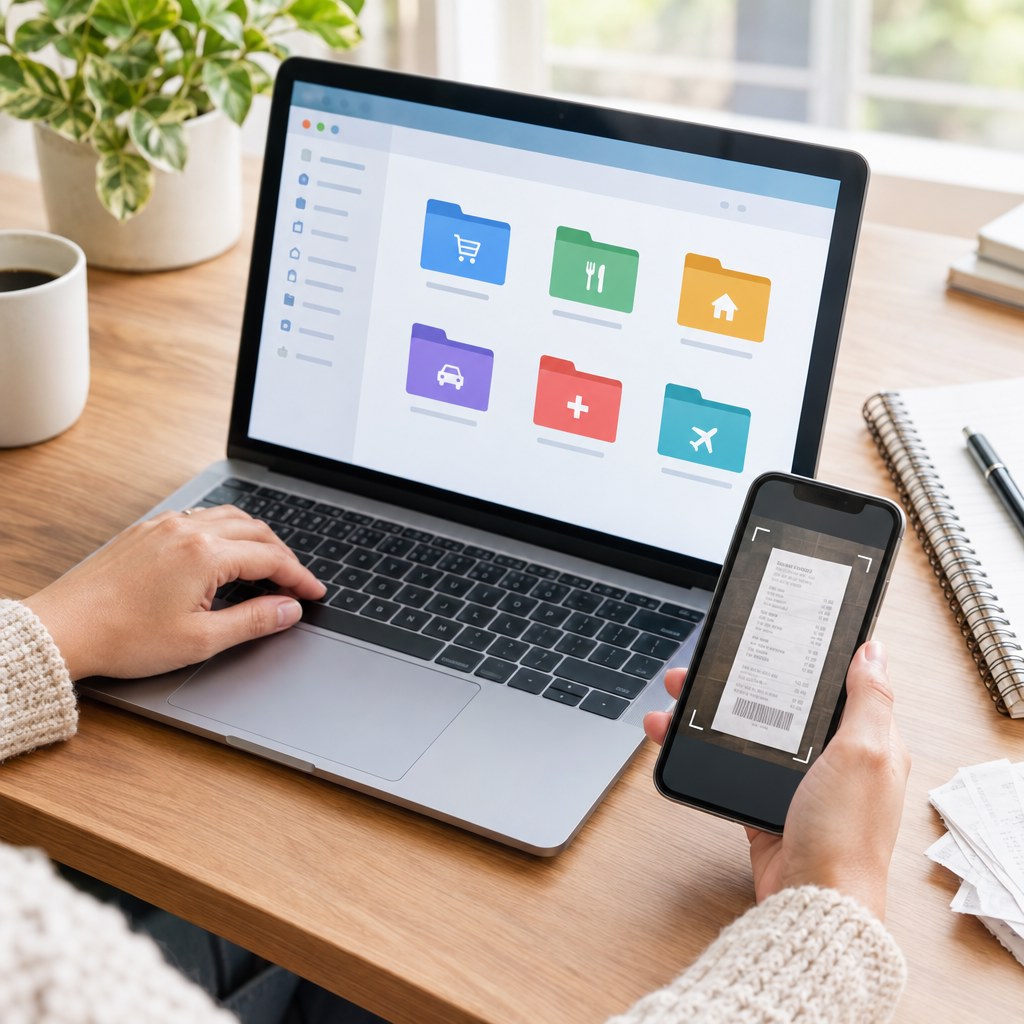
Your folder structure should answer 2 questions quickly: what was the purchase, and why did you save it? Avoid deep nesting that forces you to open several folders before reaching a file. A shallow structure with clear categories is easier to maintain.
Start with broad top-level folders
For a household, you might use folders such as Home, Vehicles, Health, Education, Technology, Travel, and Major Purchases. For a business, you might use Expenses, Equipment, Client Projects, Travel, Software, and Vendor Records. Use categories that match how you actually look for information.
Within each category, organize by year if the volume justifies it. For example, a business structure could be Expenses / 2026 / Travel. A household structure could be Home / Appliances / Refrigerator. Do not create a separate folder for every small purchase unless it has ongoing value, such as a warranty, repair history, or return window.
Use filenames that work in search
A useful filename includes the date, merchant, amount or item, and category when relevant. Put the date first in year-month-day order so files sort naturally. For example:
- 2026-11-08_OfficeSupplyStore_Desk-Chair_Receipt.pdf
- 2026-10-22_UtilityProvider_Electricity-Bill.pdf
- 2026-09-15_ApplianceRetailer_Dishwasher_Warranty.pdf
You do not need to include every detail. The goal is to make the receipt identifiable without opening it. If your business tracks project codes or expense categories, add those only when they improve retrieval.
Keep related documents together
A receipt is often more useful alongside an invoice, warranty, delivery confirmation, service report, or return authorization. Create one folder for a significant item or project and keep the related records together. For example, a laptop folder could include the original receipt, warranty terms, repair invoices, and an asset tag record.
Set Up a Practical Receipt Workflow
The system only works when new receipts move through it quickly. Build a process that takes a few minutes at a time rather than waiting for a large cleanup session.
1. Create an intake point
Decide where unfiled receipts will land. This could be an email label named “Receipts to File,” a cloud folder named “Inbox,” or a scanning app folder. Use one intake point for every source where possible. If you photograph paper receipts, send the image to that same inbox immediately.
2. Capture complete information
Before filing, make sure the document shows the merchant, date, amount, payment reference if available, and purchased item or service. If a retailer only provides an order-confirmation screen, download or print it to PDF while you can still access the details.
3. Rename and categorize
Rename the file using your standard format, then place it in the correct folder. If you use accounting software, attach the receipt to the matching transaction at this point. Do not rely on your memory to connect a vague file name to a bank charge weeks later.
4. Mark the original as processed
Archive the email, apply a “filed” label, or remove the document from the intake folder. This prevents duplicate filing and gives you a visible list of what still needs attention.
5. Review on a schedule
Choose a rhythm that matches your volume. A household may review receipts monthly, while a business with frequent transactions may need a weekly review. During the review, file new records, check that important attachments open correctly, and remove documents that no longer need to be retained under your own policy.
Avoid Common Mistakes and Recover Missing Records
The most common mistake is treating a bank or card transaction list as a receipt archive. A transaction confirms that money moved, but it may not show the items purchased, taxes, warranty information, or return details. Keep the original receipt whenever it matters.
Another problem is saving unreadable scans. Blurry photos, cropped totals, and images with glare can be difficult to use later. Check the image before discarding a paper original, especially for important purchases. Save files in broadly usable formats such as PDF or common image formats, rather than relying only on a retailer’s account page.
If you cannot find a receipt
- Search your email using the merchant name, product name, order number, or a likely date range.
- Check the retailer account where you placed the order and download any available invoice or order confirmation.
- Review your card or bank record to identify the exact transaction date and merchant description.
- Contact the seller and ask whether they can provide a duplicate receipt, using the date, amount, and payment details you can verify.
- Save the replacement immediately using your filing convention.
Do not wait for an audit, return, insurance claim, or warranty problem to test your system. Periodically open several files at random and confirm that they are readable, complete, and stored where you expect.
Use a Simple Decision Framework
When a receipt arrives, ask 3 questions: Do I need proof of this purchase? Where would I look for it later? What name would make it easy to find? Your answers determine whether to discard it, keep it briefly in an intake folder, or save it as a long-term record.
For routine purchases with no return, warranty, expense, or budgeting value, you may not need a permanent copy. For higher-value items, business expenses, repairs, subscriptions, and anything tied to an important agreement, save a complete record in your main archive.
A strong receipt system is simple enough to follow during a busy week. Use one storage location, a small set of categories, a date-first filename, and a recurring review. Those decisions make your records easier to retrieve and easier to trust.
Start With Your Most Important Receipts
Create your intake folder today, then file your warranties, major purchases, and current business expenses first. Once those records are secure, work through the remaining backlog in small batches.