How to Plan Storage Around a Hobby
Plan Storage Around How You Actually Use Your Hobby
The best hobby storage starts with your real routine: what you use often, where you work, and how much setup time you can tolerate. Instead of buying containers first, map the activity from start to finish, then give each tool, material, and unfinished project a practical home.
A well-planned system protects supplies, keeps your work area usable, and makes it easier to return to the hobby. Whether you paint miniatures, sew, garden, bake, collect records, build models, or repair bikes, the same principle applies: storage should reduce friction rather than create another task.
Contents
Identify What Your Hobby Really Needs
Hobby storage fails when it is planned around the amount of stuff you own today rather than the way you work. A few compact tools can demand more space than several large items if they need a clear work surface, ventilation, drying time, or access to power.
Start by listing everything involved in a typical session. Include the items you use before, during, and after the activity: tools, consumables, protective equipment, reference materials, packaging, cleaning supplies, works in progress, and finished pieces. This reveals storage needs that are easy to overlook.
Separate active supplies from reserve supplies
Active supplies are the things you reach for during most sessions. They deserve the most convenient storage: a drawer beside your desk, a caddy on a shelf, or a rolling cart near your worktable. Reserve supplies are backups, bulk purchases, seasonal items, and rarely used tools. They can live higher up, lower down, or in another room.
For example, if you sew regularly, your current project, scissors, pins, thread, measuring tools, and machine accessories may stay near your sewing surface. Extra fabric, duplicate thread colors, patterns you may use later, and specialty tools can be stored farther away.
Measure the work, not just the objects
Storage has to account for the space you need when the hobby is in progress. A painter may need room for a palette and drying artwork. A baker may need counter space for mixing and cooling. A musician may need safe access to an instrument without moving several cases first.
Measure shelves, drawers, closets, floor space, and available work surfaces. Also note door swings, walking routes, outlets, natural light, moisture, and heat sources. A storage unit that technically fits but blocks a drawer or interrupts movement will not support regular use.
Choose Storage Zones Before You Buy Containers
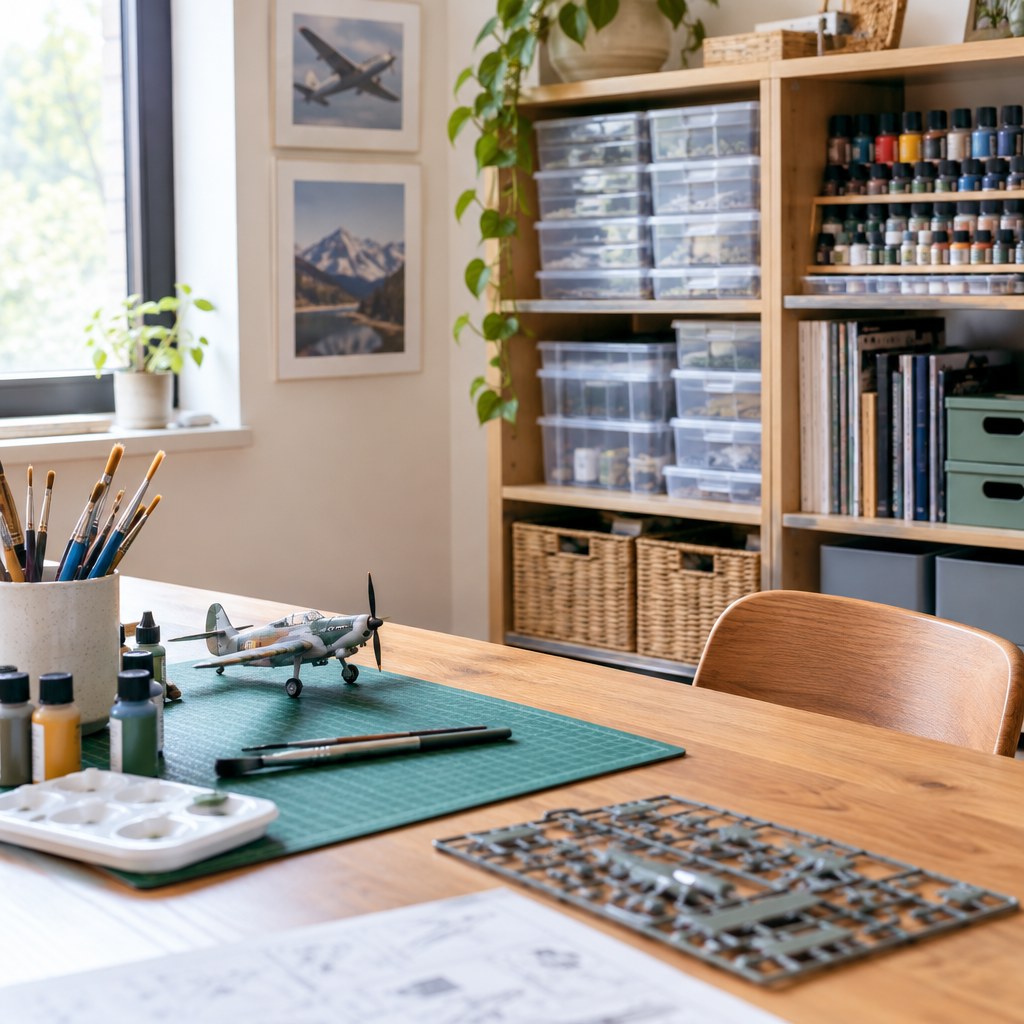
Think in zones rather than individual bins. A zone is a dedicated location for a stage of your hobby, such as preparation, active work, cleanup, or display. Zones make it easier to return items where they belong because the location reflects a purpose.
Ready-to-use zone
Keep the essential tools for a typical session within easy reach. This is the zone that determines whether starting feels simple or inconvenient.
Backstock zone
Store refills, bulk materials, duplicates, and future projects together. Label this zone clearly so it does not quietly become an unsearchable stash.
Project zone
Give unfinished work a temporary but protected home. A tray, lidded box, or dedicated shelf prevents one project from taking over every shared surface.
In a shared home, the project zone matters most. It gives you a way to pause without dismantling everything or leaving sharp, fragile, messy, or valuable items exposed. Choose a portable option when you use a dining table, kitchen counter, or other multi-purpose area.
Keep cleanup supplies in or beside the active zone. If you have to search for a cloth, brush cleaner, rubbish bag, or tool case at the end of every session, the system will gradually break down.
Match Storage to Materials and Workflow
Different materials need different conditions. Before assigning a location, consider dust, sunlight, moisture, temperature changes, weight, sharp edges, and the chance of spills. Do not assume that clear plastic is the answer for every category.
Use containers that fit the category, not containers that force you to decant everything. Clear boxes are useful when visual recognition matters, while opaque boxes can reduce visual clutter for less frequently used stock. Open bins suit items you need often, but lidded containers are better for dust-sensitive materials or supplies stored in garages, sheds, and basements.
Heavy equipment belongs on low, stable shelves. Frequently used items should sit between knee and shoulder height where possible. Keep cutting tools, chemicals, and small parts in secure storage if children or pets can access the area.
Build Your Hobby Storage System Step by Step
You do not need to reorganize everything in one day. Start with the items that affect your next session, then expand the system once you know it works.
- Gather one hobby category at a time. Do not empty every cupboard unless you have enough time to finish. Start with paints, yarn, hand tools, baking equipment, or another clear group.
- Sort into active, reserve, project, repair, and release groups. The release group includes damaged, expired, unwanted, or duplicate items you realistically will not use.
- Choose the work location first. Decide where you normally create, prepare, clean, or display. Place active supplies closest to that location.
- Assign every category a home. Give tools, materials, and unfinished work distinct spaces. Avoid “miscellaneous” boxes unless they are small and reviewed regularly.
- Label the outside, not just the lid. Labels should be readable when containers are stacked or placed on shelves. Use broad labels such as “current acrylics” rather than a label so detailed it becomes inaccurate.
- Run a reset routine. At the end of a session, return the active kit, deal with waste, and place the project in its holding zone. Aim for a reset that takes only a few minutes.

Avoid Common Storage Mistakes and Recover Quickly
One common mistake is buying attractive containers before you understand the categories. This often creates bins that are too deep, drawers that do not fit tools, or a uniform look that hides a confusing system. Sort first, measure second, and buy only the storage you still need.
Another problem is overpacking. When a drawer is full to the edge, you cannot see what is inside or put items back easily. Leave practical spare room in active storage, especially for hobby materials that change shape, arrive in new packaging, or accumulate during a project.
Do not create a system that depends on perfect behavior. If you usually work late, choose an easy reset rather than a detailed filing process. If you work in several rooms, use a portable kit instead of expecting yourself to carry loose items back and forth.
If your storage has already become overwhelming, do a recovery pass. Remove obvious rubbish and expired materials, consolidate duplicates, gather unfinished projects, and restore one ready-to-use zone. You can improve the reserve storage later; restoring access to the hobby is the immediate win.
Use a Simple Decision Framework
Before adding any shelf, cabinet, or container, ask 4 questions: How often do you use this? Where do you use it? What could damage it? How quickly must you put it away? Your answers determine the right level of access, protection, and portability.
Store frequent-use items close to the work area, protect vulnerable materials according to their risks, contain active projects so they can pause safely, and keep reserve stock separate from daily tools. Review the system after a few weeks of normal use and adjust the zones that create delays or clutter.
Make Your Next Hobby Session Easier
Choose one active hobby category today, assign it a reachable home, and test the setup during your next session. Small changes that remove setup and cleanup friction are the foundation of storage that lasts.